

 AI
Skyr-style strained yogurt
Level 2 · some practice
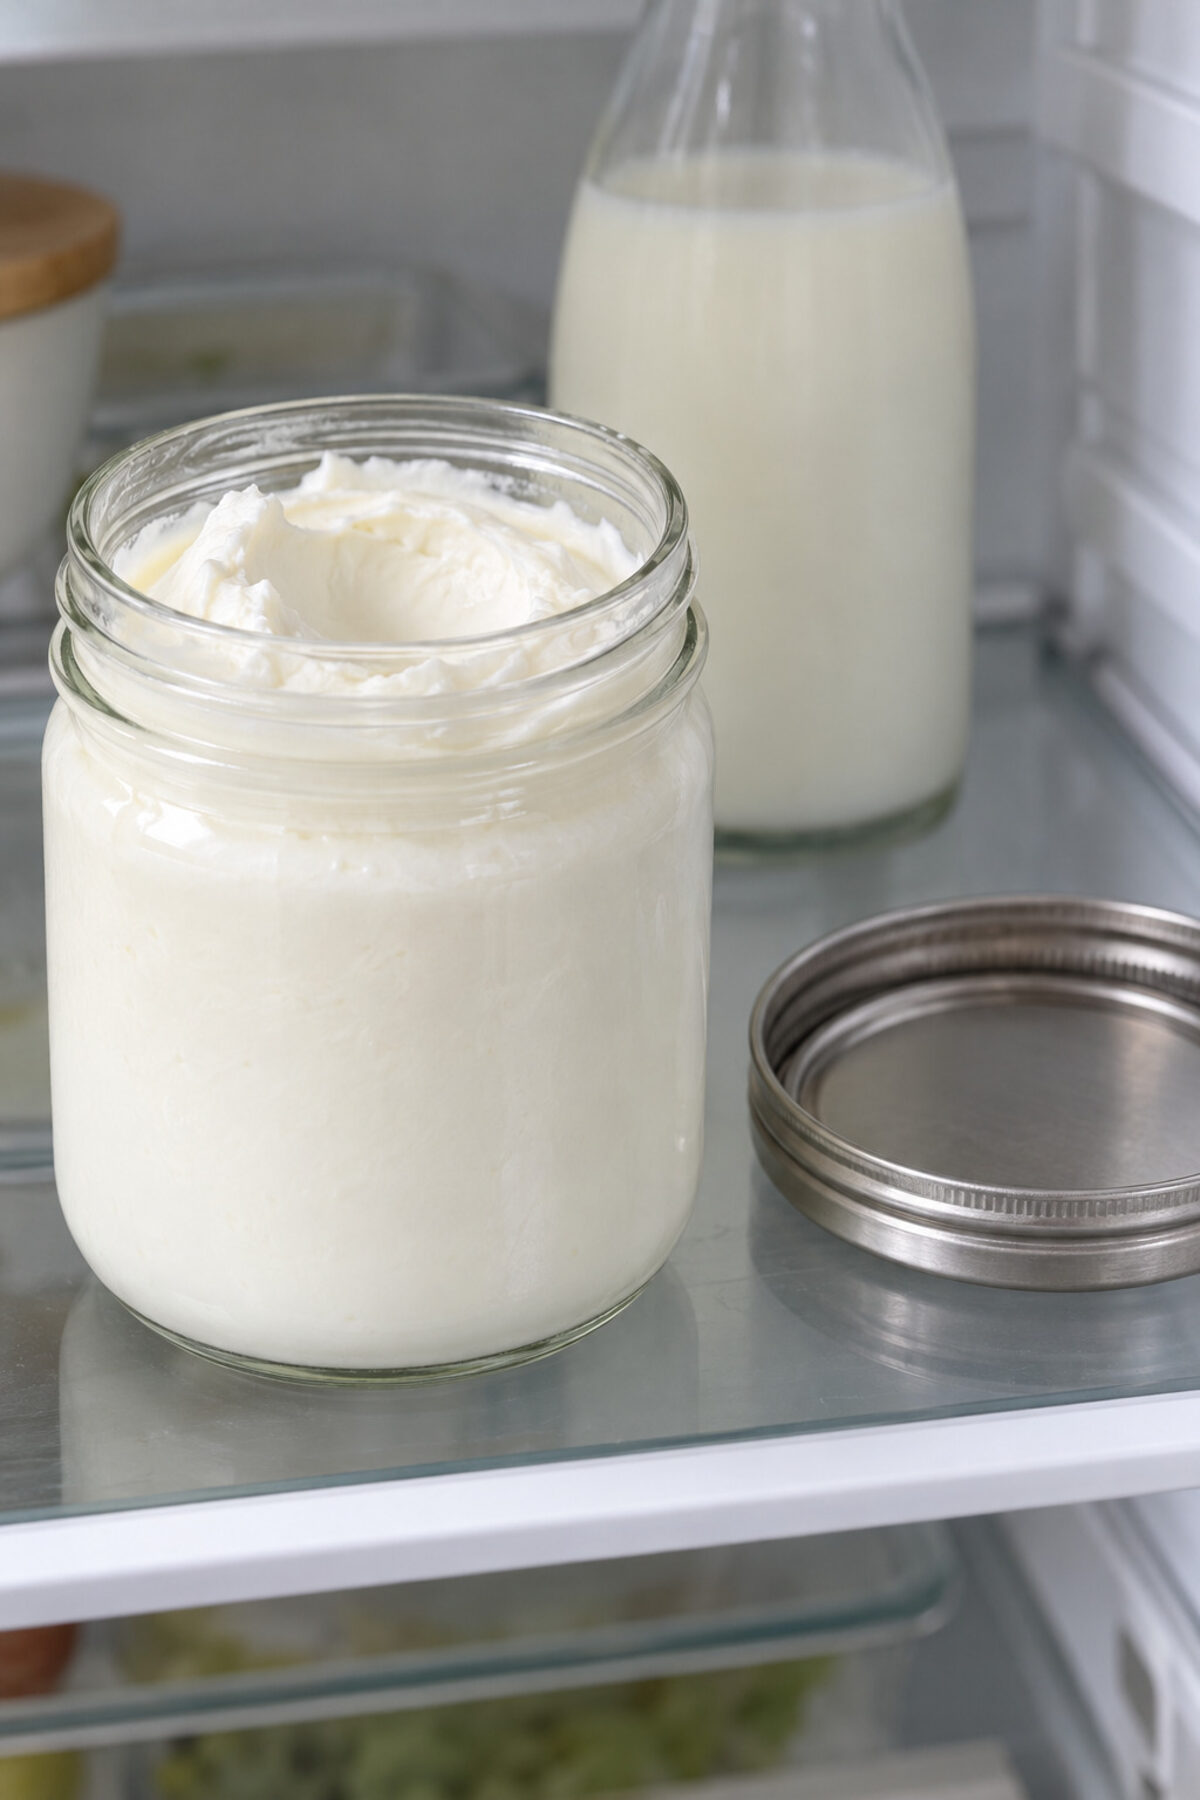
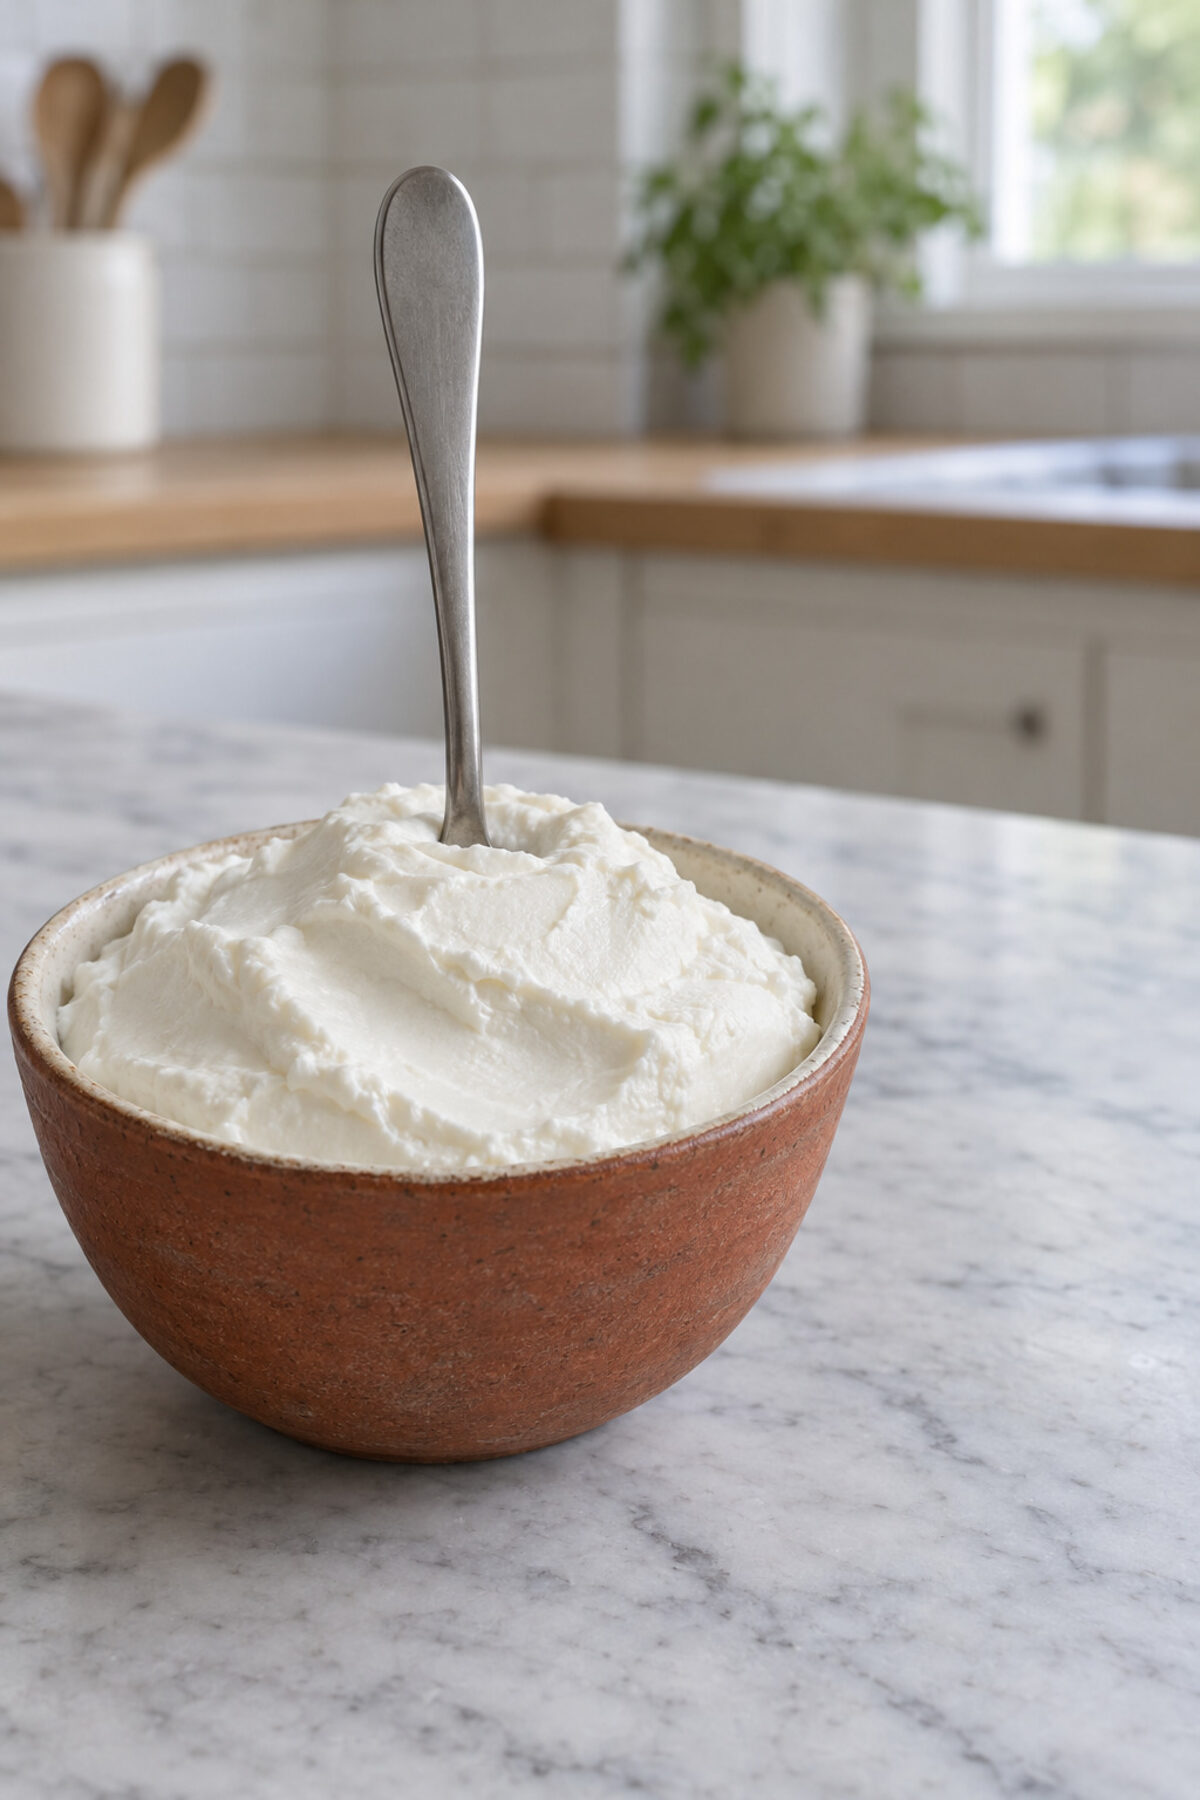
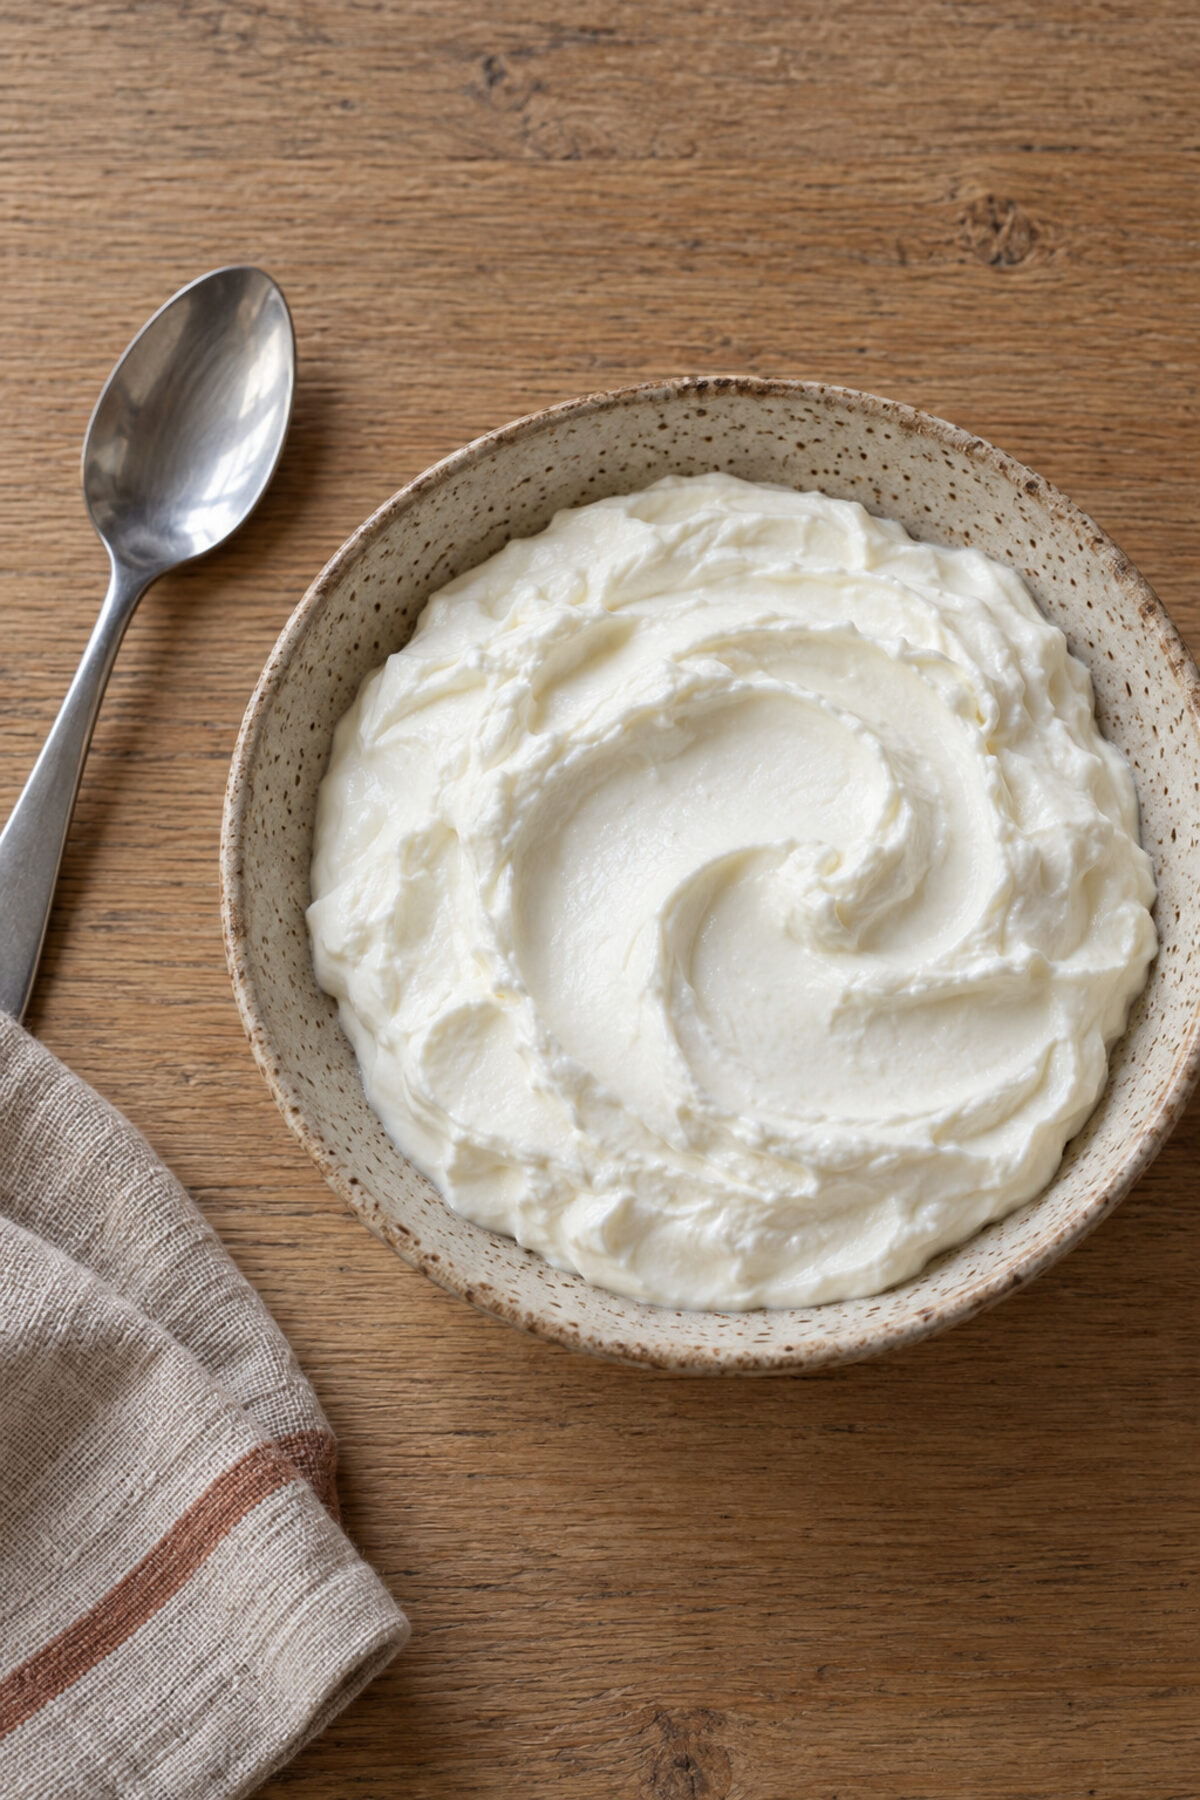
It isn't Icelandic skyr: it's the closest thing you can make at home with official guides behind it. Skim milk yogurt, strained in the fridge until very thick.
- Time
- 4–7h
- Temperature
- 105–115°F
- Jar
- 1L
The golden rule: pasteurized milk, the temperature watched with a thermometer, and if it doesn't set, it goes.
No sign-up. We guide you step by step, from the scale to the fridge.
Reviewed October 26, 2026 · 34 facts, each with its source
Before you start
Skyr is a very thick Icelandic dairy food. The BC Centre for Disease Control (BCCDC) counts it among the types of yogurt, but traditional skyr is also set with rennet, and no official guide explains how to make it at home. So this recipe isn't skyr: it's skim milk yogurt with added milk powder, strained in the fridge until it's very thick. The yogurt follows the figures of the National Center for Home Food Preservation (NCHFP), and the straining follows the Illinois Extension guide. You'll need a thermometer.
You'll need
- 2-quart saucepan or a double boiler
- Kitchen thermometer, essential
- Spoon for stirring
- Cup or small bowl
- Glass jars with lids, 1 liter (about a quart) in all
- Yogurt maker, or a cooler with 110 °F water
- Large strainer
- Cheesecloth, twice as wide as the bowl
- Bowl that fits in the fridge, to catch the whey
Step by step
-
Stir the milk powder into the cold milk and heat it to 185–200 °F
Wash the saucepan, jars, spoon, cup, strainer and bowl in hot soapy water, rinse them well and let them air-dry. Pour the cold milk into the pan and stir in the 45 g of milk powder. Heat it gently, stirring, until the thermometer reads 185 to 200 °F. Hold it there for 20 minutes: the yogurt comes out thicker. Don't let it boil.
Tip: Milk powder stirred into hot milk forms strings. If you get some, lift them out with a slotted spoon or pour the milk through a strainer before adding the starter.
-
Cool it quickly to 112–115 °F
Set the pan in a sink of cold water and stir now and then until the milk drops to 112–115 °F. It should get there in less than 1 hour, and never take more than 2.
Tip: NCHFP uses ⅔ cup of milk powder, about 45 g, per quart of skim milk. The more solids, the firmer the yogurt.
-
Mix the yogurt with a cup of milk and stir it back in
Take out a cup of the warm milk and stir it into the 60 g of yogurt until smooth. Pour it into the pan and stir. The mixture should be at 110–112 °F. Pour it into the jars right away and put the lids on. That's 60 g per liter, NCHFP's ratio of ¼ cup of yogurt per quart of milk.
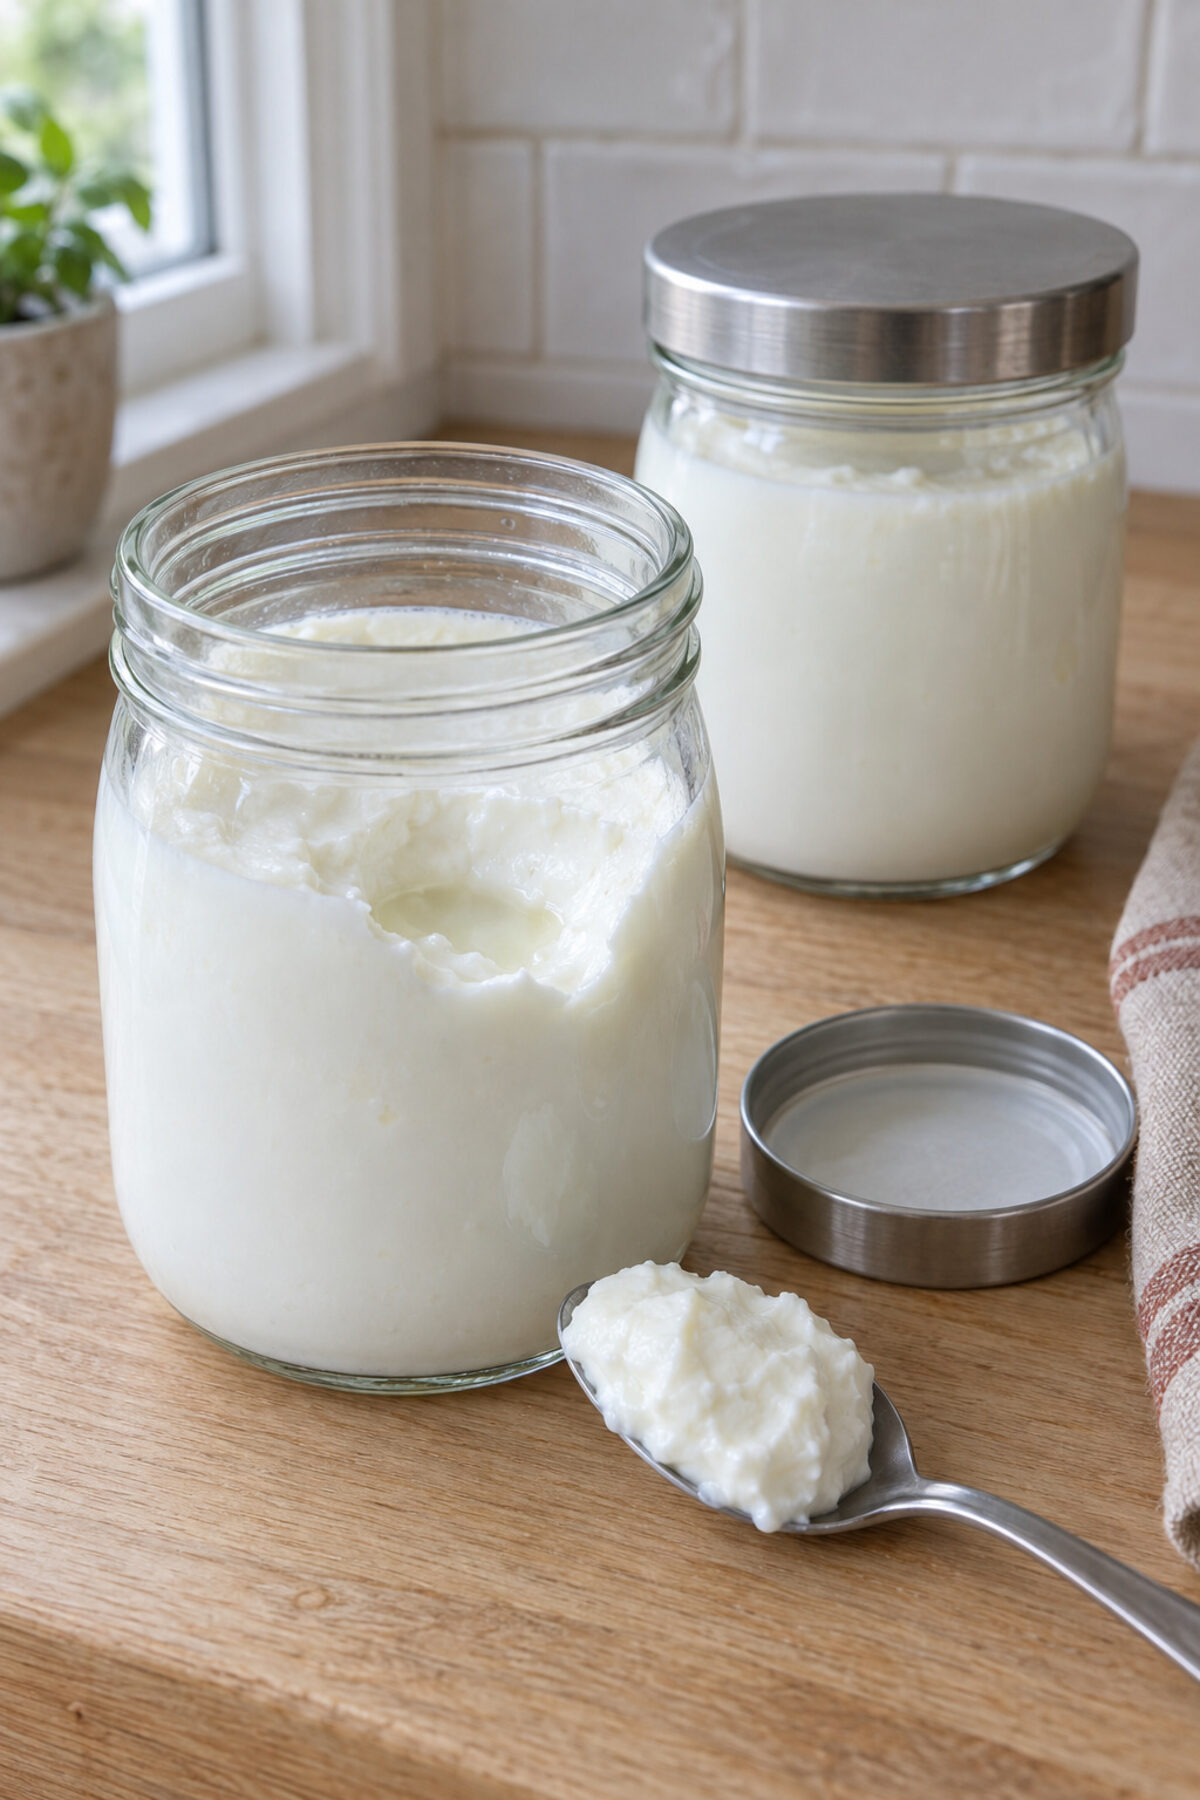
Tip: Use a yogurt without gelatin. Gelatin keeps the whey from draining, and then it won't strain.
-
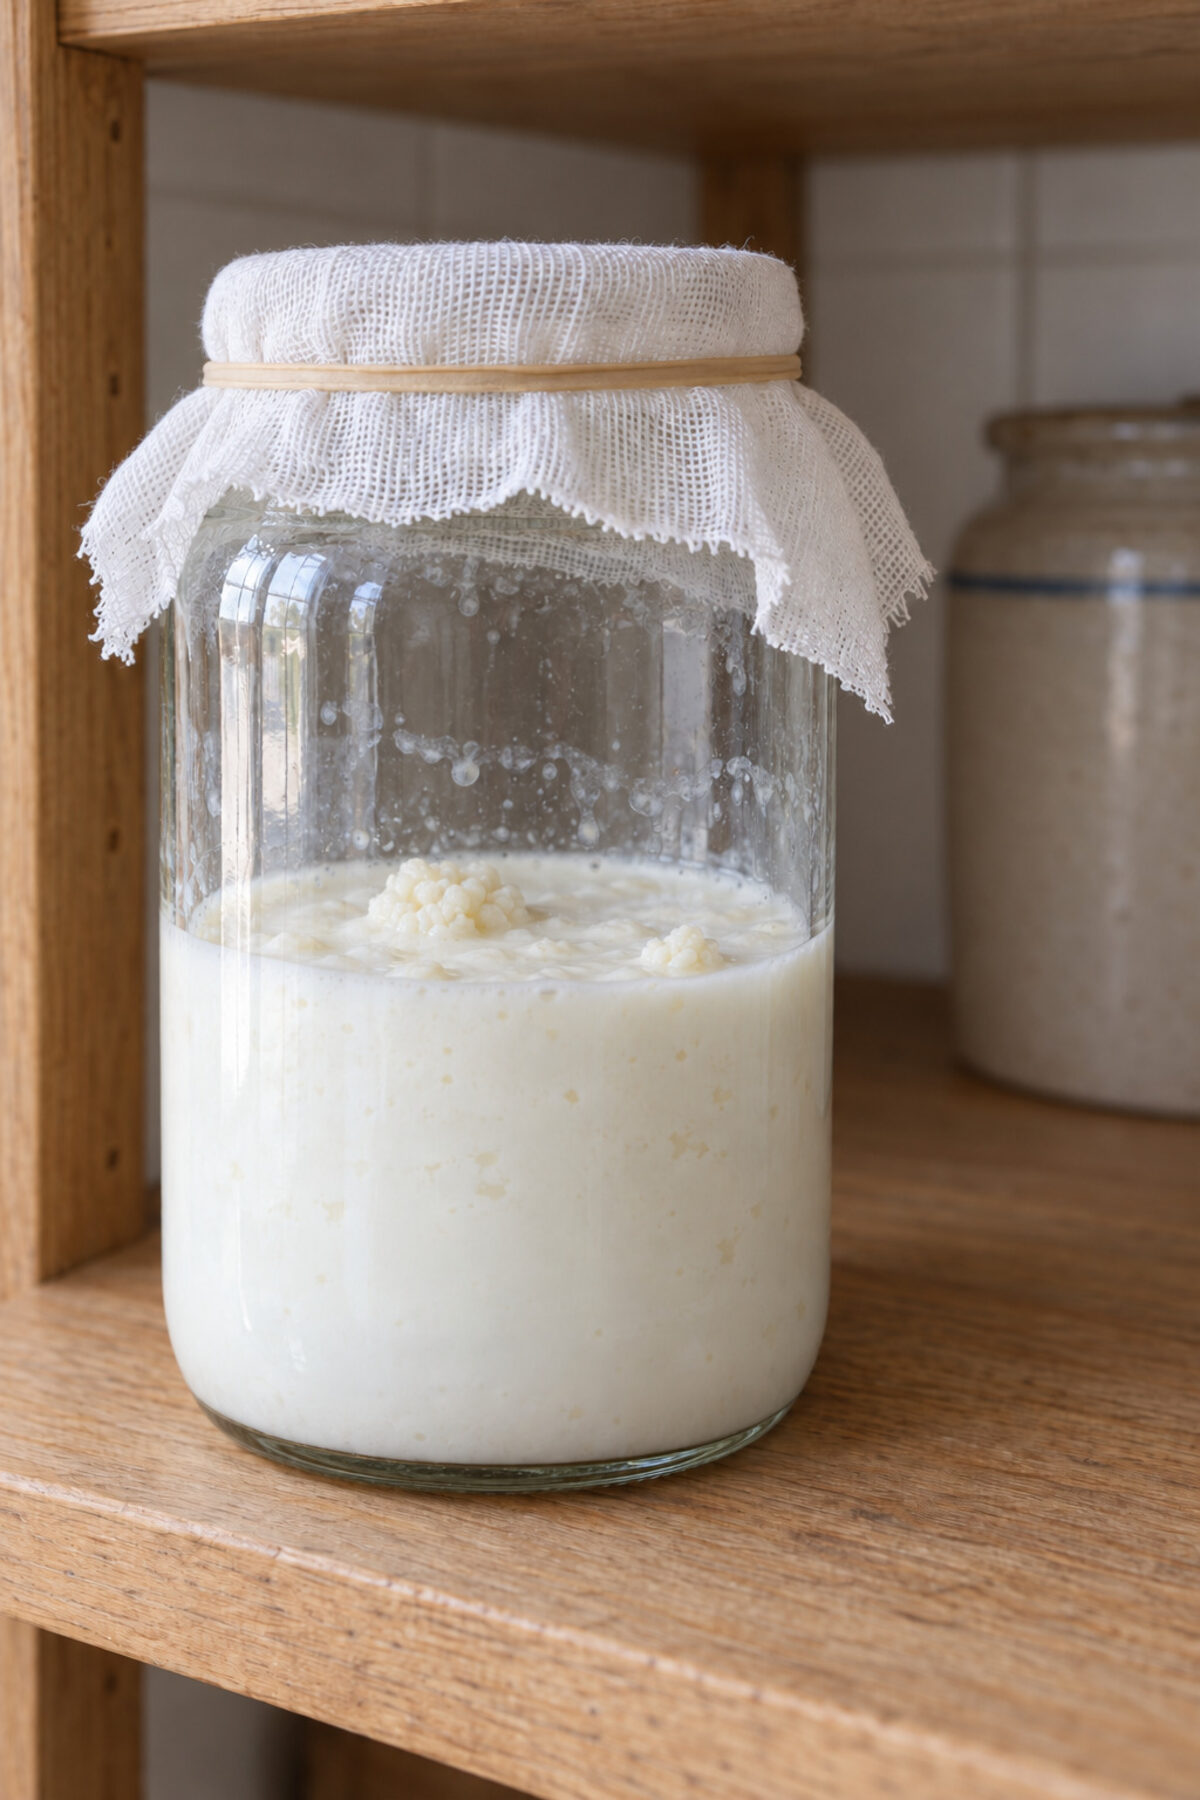
Keep the jars at about 110 °F for 4 to 7 hours
Put the jars in the yogurt maker or in a cooler. If you use a cooler, warm it first with almost-boiling water, pour that out and fill it with 110 °F water halfway up the jars. Check the temperature every hour: it should stay between 105 and 115 °F. If it drops, add hot water. Don't move the jars.
It's ready when it has set firm. If it hasn't set by 10 hours, throw it out and start again with a new starter. That's a house rule: 10 hours is the longest any guide gives, Illinois's.
-
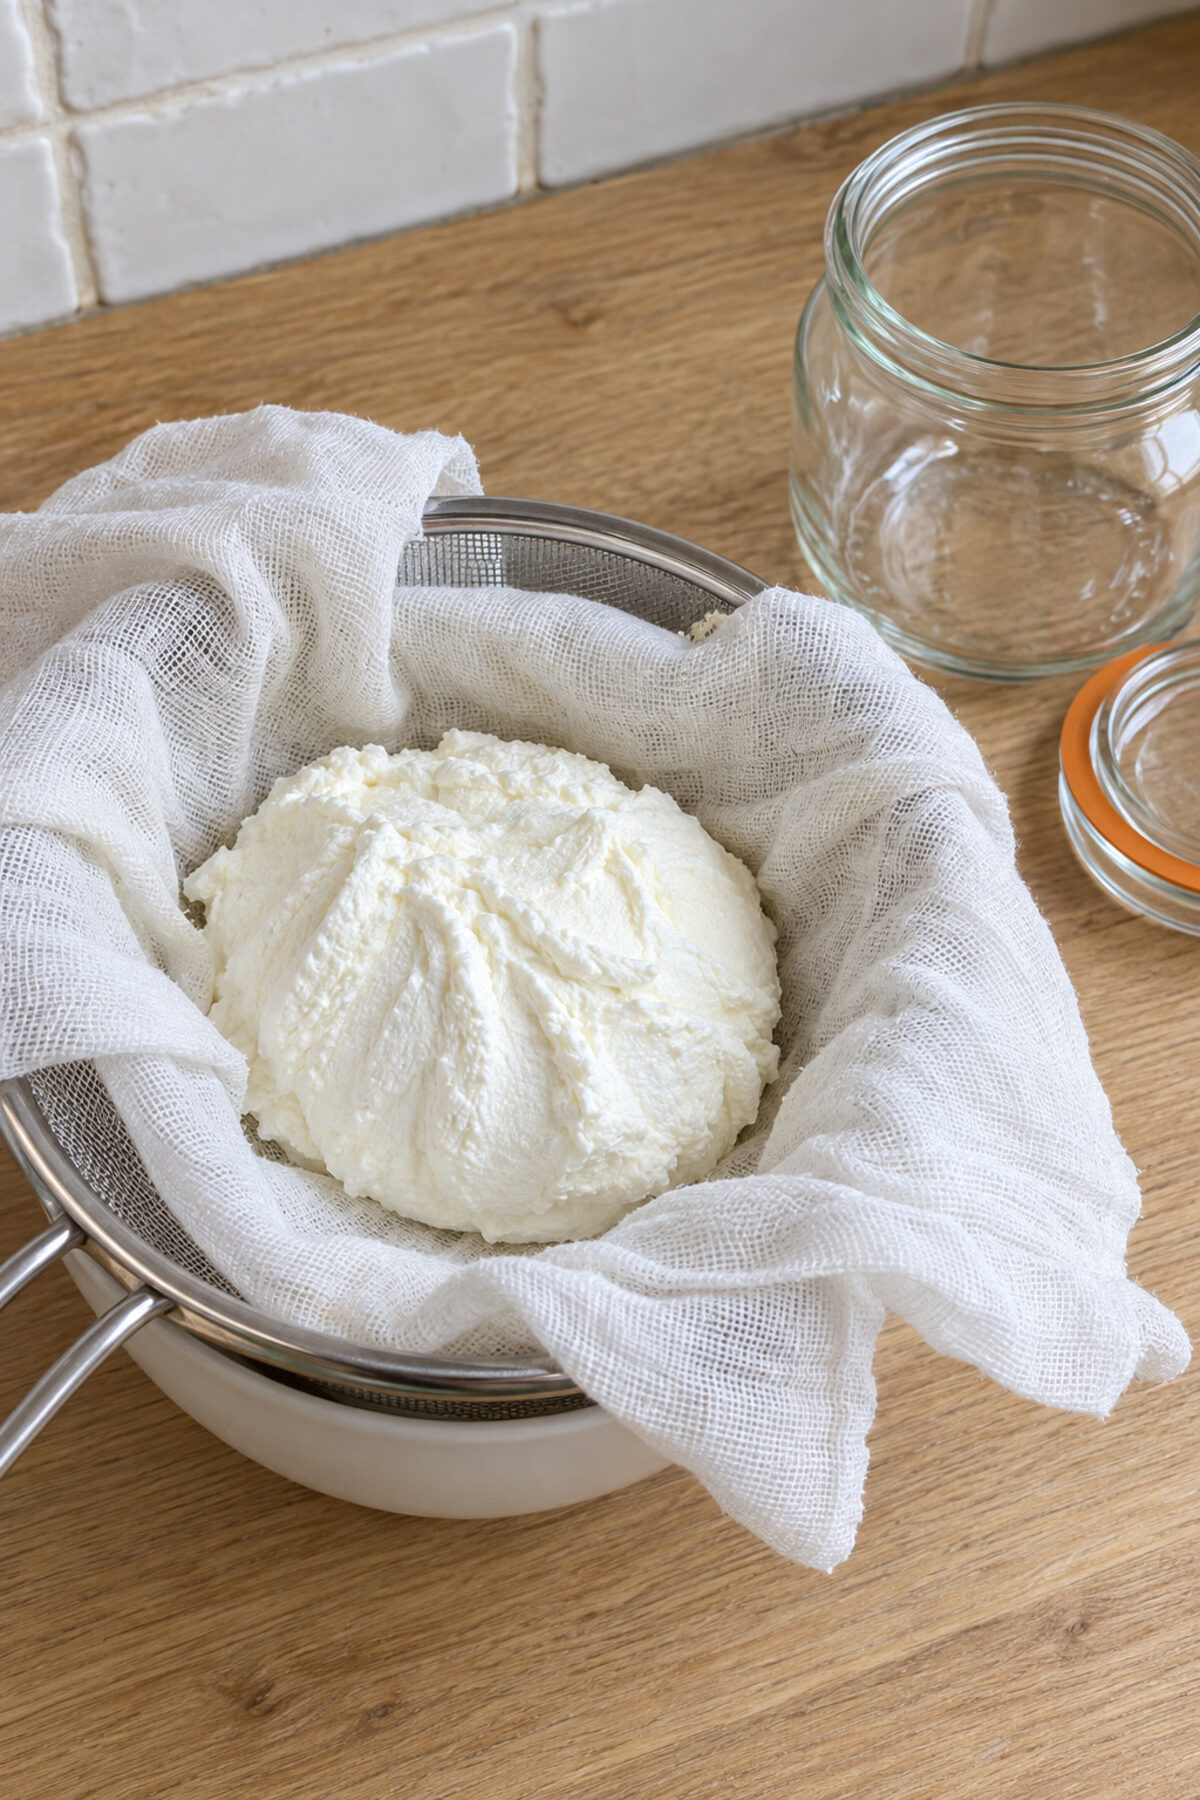
Strain it in the fridge for 8 to 12 hours
As soon as it sets, put the jars in the fridge. Once the yogurt is cold, fold the cheesecloth into a double layer and line the strainer with it. Set the strainer over the bowl so it doesn't touch the bottom, and spoon in the yogurt. Cover the bowl and leave it in the fridge for 8 to 12 hours. Pour off the whey now and then so it doesn't reach the cloth.
Tip: Illinois gives 8 to 24 hours for yogurt cheese. Stopping between 8 and 12 is a house rule: it gets very thick but you can still eat it by the spoonful.
-
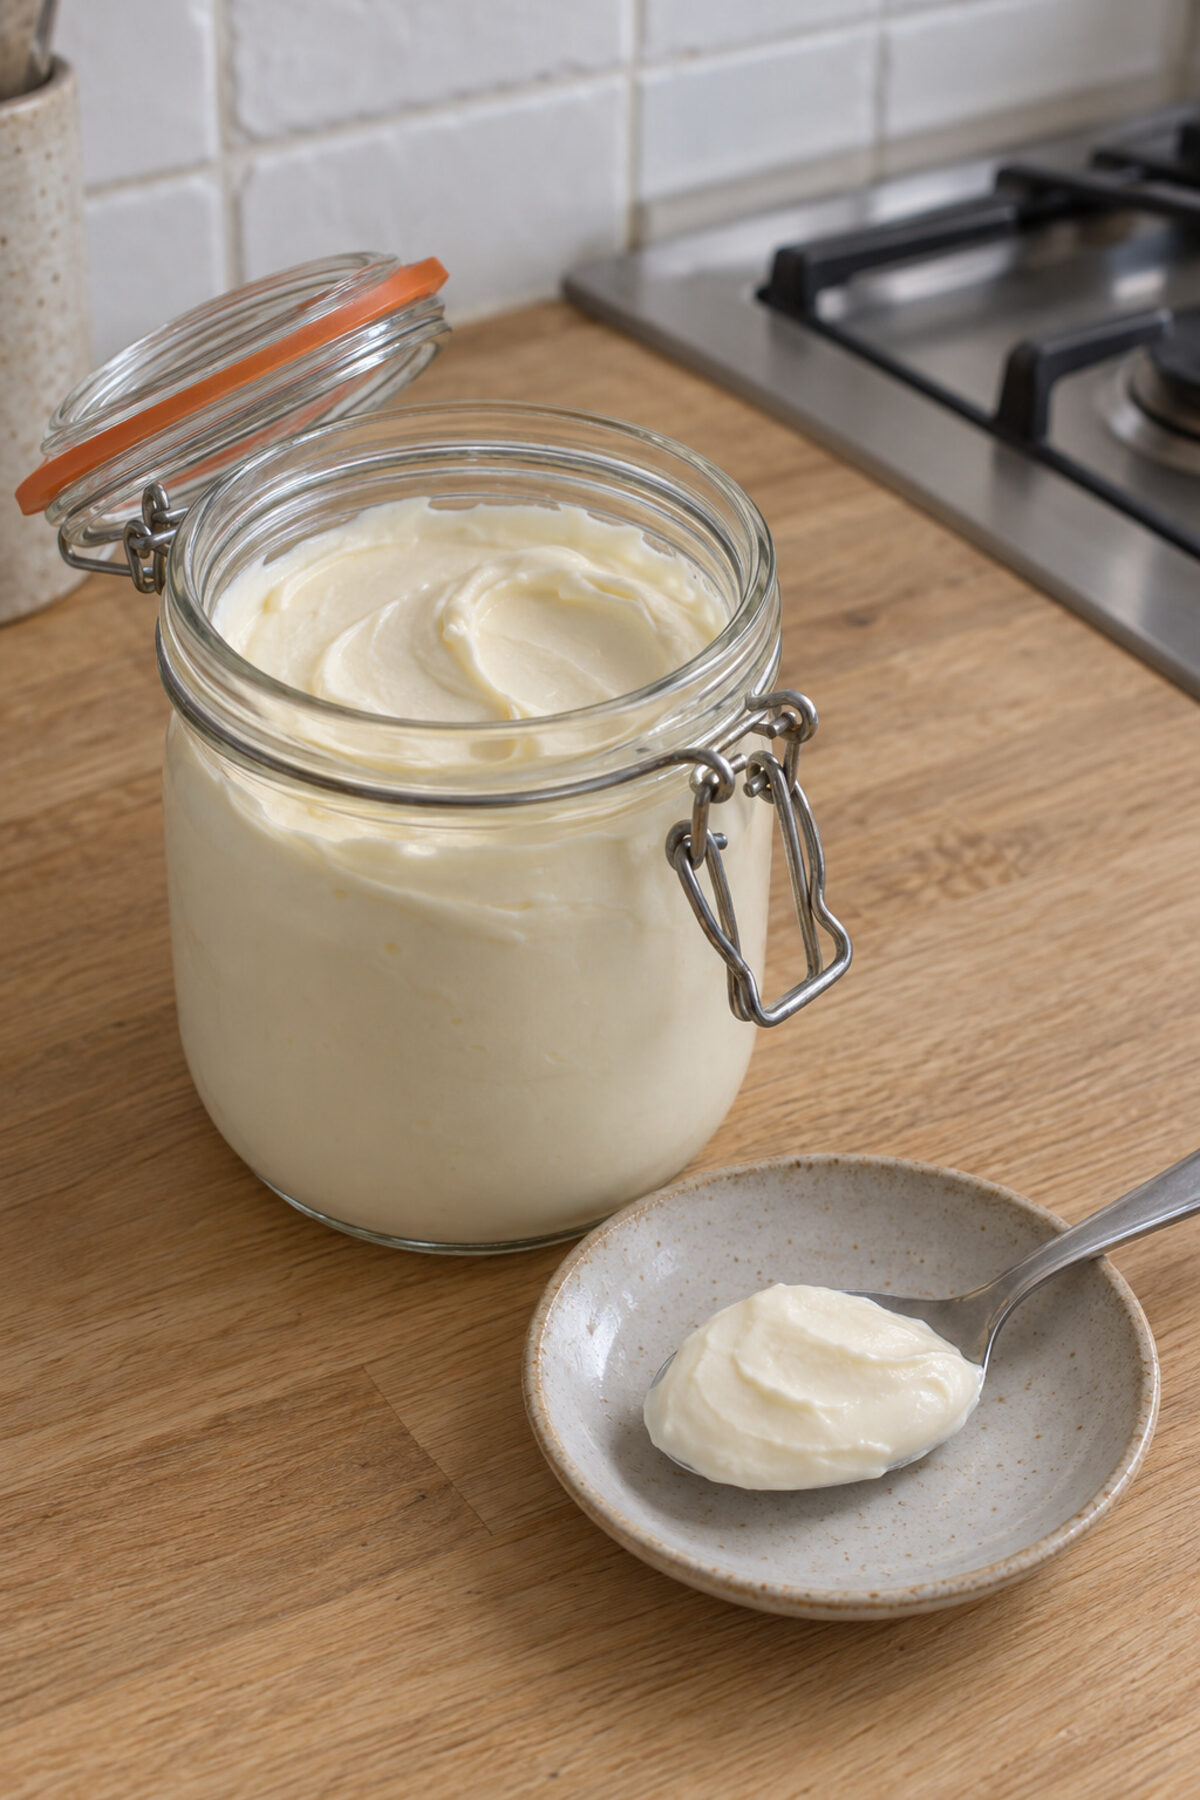
Stir it smooth and refrigerate it
Spoon the strained yogurt into a bowl and stir it with a spoon until smooth. Move it to a clean jar, close it and keep it in the fridge, at 40 °F or below. NCHFP gives strained yogurt 7 to 14 days; count on 7, the shortest.
No sign-up. We guide you step by step, from the scale to the fridge.
Variations
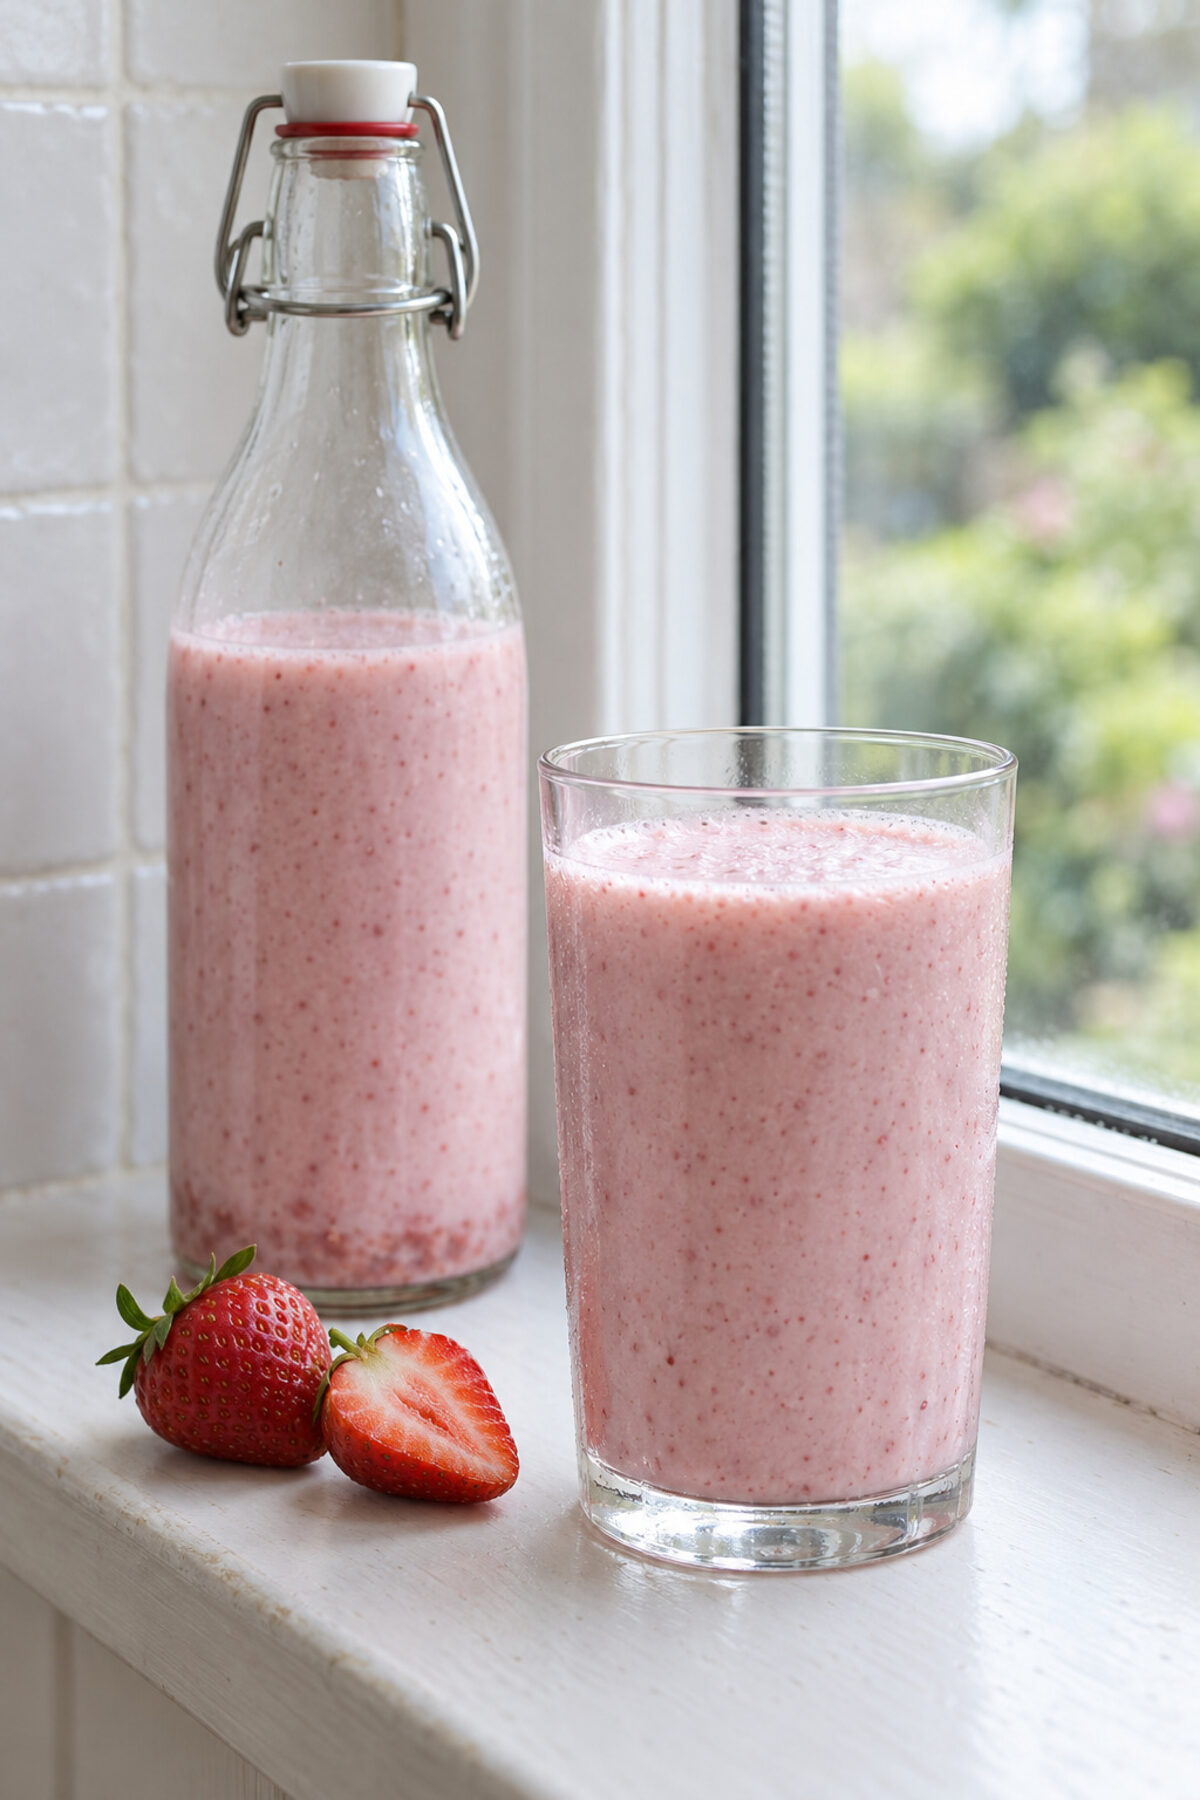
The same method, a different flavor. Once you have this one down, try one of these.
How to tell it's going well
- Always use pasteurized milk. The heating step doesn't replace pasteurization.
- Use a thermometer. The milk must cool to 112–115 °F in less than 1 hour, never more than 2, and incubate between 105 and 115 °F. Below 98 °F the bacteria grow poorly.
- If it doesn't set, throw it out. It can mean a bad starter or microbes that shouldn't be there.
- Always strain it in the fridge.
- In the fridge for 7 days at most. With fresh fruit stirred in, eat it the same day and within 3 days at most.
- If mold appears or it smells like anything but yogurt, throw it all out. Mold can reach below the surface. Don't sniff it.
Where every number comes from
Every number in this recipe comes from a food safety guide. We keep a copy of each source and quote its exact words.
-
1
Skyr is one of the types of yogurt
“Common yogurt types include skyr, Greek, French, Australian, drinkable and traditional varieties, which vary in thickness, texture, and sweetness.”
BC Centre for Disease Control, Environmental Health Services · Safety of Fermented Foods, Section 3.6: Yogurt (April 2024, updated December 2024) · read on October 25, 2026
-
2
Cooled within 1 hour, and never more than 2
“Cooling milk to the inoculation temperature within 1 hour (best practice for commercial and smallscale), and up to a maximum of 2 hours (this is a CCP).”
BC Centre for Disease Control, Environmental Health Services · Safety of Fermented Foods, Section 3.6: Yogurt (April 2024, updated December 2024) · read on October 25, 2026
-
3
With fresh fruit, the same day and 3 days at most
“Controlling time, when fresh ingredients are added (e.g. added fruit berries). For example, use yogurt same day, up to a maximum of 3 days, then discard.”
BC Centre for Disease Control, Environmental Health Services · Safety of Fermented Foods, Section 3.6: Yogurt (April 2024, updated December 2024) · read on October 25, 2026
-
4
Per quart of milk, skim included
“1-quart milk (cream, whole, low fat, or skim)”
National Center for Home Food Preservation (Nummer, 2002); copy hosted by UC Davis Food Safety · Fermenting Yogurt at Home (October 2002) · read on October 25, 2026
-
5
With skim milk, ⅔ cup of milk powder; more solids, firmer yogurt
“Use 1/3-cup powder when using whole or low fat milk, or use 2/3-cup powder when using skim milk. The higher the milk solids the firmer the yogurt will be.”
National Center for Home Food Preservation (Nummer, 2002); copy hosted by UC Davis Food Safety · Fermenting Yogurt at Home (October 2002) · read on October 25, 2026
-
6
Milk powder goes into cold milk, or it forms strings
“Place cold, pasteurized milk in top of a double boiler and stir in nonfat dry milk powder. Adding non-fat dry milk to heated milk will cause some milk proteins to coagulate and form strings.”
National Center for Home Food Preservation (Nummer, 2002); copy hosted by UC Davis Food Safety · Fermenting Yogurt at Home (October 2002) · read on October 25, 2026
-
7
No gelatin, which keeps the whey from draining
“Do not use yogurt made with the addition of gelatin. Gelatin will inhibit whey separation.”
National Center for Home Food Preservation (Nummer, 2002); copy hosted by UC Davis Food Safety · Fermenting Yogurt at Home (October 2002) · read on October 25, 2026
-
8
Strained yogurt keeps 7 to 14 days in the fridge below 40 °F
“The yogurt cheese has a shelf life of approximately 7-14 days when wrapped and placed in the refrigerator and kept at less than 40°F.”
National Center for Home Food Preservation (Nummer, 2002); copy hosted by UC Davis Food Safety · Fermenting Yogurt at Home (October 2002) · read on October 25, 2026
Show the remaining 26 claims
-
9
Always pasteurized milk
“Therefore, always pasteurize milk or use commercially pasteurized milk to make yogurt.”
National Center for Home Food Preservation (Nummer, 2002); copy hosted by UC Davis Food Safety · Fermenting Yogurt at Home (October 2002) · read on October 25, 2026
-
10
Heating the milk doesn't replace pasteurization
“Do not substitute this heating step for pasteurization.”
National Center for Home Food Preservation (Nummer, 2002); copy hosted by UC Davis Food Safety · Fermenting Yogurt at Home (October 2002) · read on October 25, 2026
-
11
¼ cup of yogurt with live cultures
“Commercial, unflavored, cultured yogurt — Use ¼-cup.”
National Center for Home Food Preservation (Nummer, 2002); copy hosted by UC Davis Food Safety · Fermenting Yogurt at Home (October 2002) · read on October 25, 2026
-
12
The label must say it contains live cultures
“Be sure the product label indicates that it contains a live culture.”
National Center for Home Food Preservation (Nummer, 2002); copy hosted by UC Davis Food Safety · Fermenting Yogurt at Home (October 2002) · read on October 25, 2026
-
13
Equipment washed in hot soapy water and air-dried
“Clean equipment and containers in hot detergent water, then rinse well. Allow to air dry.”
National Center for Home Food Preservation (Nummer, 2002); copy hosted by UC Davis Food Safety · Fermenting Yogurt at Home (October 2002) · read on October 25, 2026
-
14
Accurate temperatures are the key
“Accurate temperatures are critical for successful processing.”
National Center for Home Food Preservation (Nummer, 2002); copy hosted by UC Davis Food Safety · Fermenting Yogurt at Home (October 2002) · read on October 25, 2026
-
15
Cooled quickly to 112–115 °F
“cool milk rapidly to 112-115°F”
National Center for Home Food Preservation (Nummer, 2002); copy hosted by UC Davis Food Safety · Fermenting Yogurt at Home (October 2002) · read on October 25, 2026
-
16
The yogurt goes into a cup of milk; the mix ends up at 110–112 °F
“Remove one cup of the warm milk and blend it with the yogurt starter culture. Add this to the rest of the warm milk. The temperature of the mixture should now be 110-112°F.”
National Center for Home Food Preservation (Nummer, 2002); copy hosted by UC Davis Food Safety · Fermenting Yogurt at Home (October 2002) · read on October 25, 2026
-
17
Above 115 °F the culture can die
“Adding culture to very hot milk (+115°F) can kill bacteria”
National Center for Home Food Preservation (Nummer, 2002); copy hosted by UC Davis Food Safety · Fermenting Yogurt at Home (October 2002) · read on October 25, 2026
-
18
4 to 7 hours at 105–115 °F
“incubate about 4 - 7 hours at 110°F ± 5°F”
National Center for Home Food Preservation (Nummer, 2002); copy hosted by UC Davis Food Safety · Fermenting Yogurt at Home (October 2002) · read on October 25, 2026
-
19
It sets firm once it reaches pH 4.6
“Yogurt should set firm when the proper acid level is achieved (pH 4.6).”
National Center for Home Food Preservation (Nummer, 2002); copy hosted by UC Davis Food Safety · Fermenting Yogurt at Home (October 2002) · read on October 25, 2026
-
20
Cold stops the acid; in the fridge at 40 °F or below
“Rapid cooling stops the development of acid. Yogurt will keep for about 10-21 days if held in the refrigerator at 40°F or lower.”
National Center for Home Food Preservation (Nummer, 2002); copy hosted by UC Davis Food Safety · Fermenting Yogurt at Home (October 2002) · read on October 25, 2026
-
21
Throw it out if it has mold or smells like anything but yogurt
“Discard any yogurt samples with visible signs of microbial growth or any odors other than the acidity of fresh yogurt.”
National Center for Home Food Preservation (Nummer, 2002); copy hosted by UC Davis Food Safety · Fermenting Yogurt at Home (October 2002) · read on October 25, 2026
-
22
Lumps come out with a slotted spoon or through a strainer
“Take the solids out with a slotted spoon or, in difficult cases, after cooking pour the milk mixture through a clean colander or cheesecloth before adding the starter.”
University of Alaska Fairbanks Cooperative Extension Service · Making Yogurt at Home (FNH-00062, reviewed October 2024) · read on October 25, 2026
-
23
185 to 200 °F for 10 or 20 minutes, without boiling
“Hold temperature at 185° to 200°F for 10 minutes for thinner yogurt or up to 20 minutes for thicker yogurt. Do not boil.”
University of Alaska Fairbanks Cooperative Extension Service · Making Yogurt at Home (FNH-00062, reviewed October 2024) · read on October 25, 2026
-
24
It grows poorly below 98 °F and dies above 130 °F
“They like warm temperatures, but they can be killed at temperatures above 130°F and will not grow well below 98°F.”
University of Alaska Fairbanks Cooperative Extension Service · Making Yogurt at Home (FNH-00062, reviewed October 2024) · read on October 25, 2026
-
25
A cooler warmed first and filled with 110 °F water
“To use an insulated cooler, prewarm the cooler with almost-boiling water. Empty, then fill with 110°F water that comes halfway up the sides of jars filled with 110°F cultured milk.”
University of Alaska Fairbanks Cooperative Extension Service · Making Yogurt at Home (FNH-00062, reviewed October 2024) · read on October 25, 2026
-
26
If it doesn't set, throw it out
“Discard batches that fail to set properly since this may be an indication of a bad culture or unwanted microorganisms.”
University of Alaska Fairbanks Cooperative Extension Service · Making Yogurt at Home (FNH-00062, reviewed October 2024) · read on October 25, 2026
-
27
Strained, it turns thick and creamy
“Draining whey from the yogurt thickens the mixture and produces a consistency like pudding or spreadable cheese.”
University of Illinois Extension · Making Yogurt at Home, Best Practice Guide (modified May 2024) · read on October 25, 2026
-
28
Yogurt cheese drains for 8 to 24 hours in the fridge
“Cover the container and refrigerate. For yogurt cheese, drain for 8 to 24 hours. For Greek-style yogurt, drain for 2 to 4 hours.”
University of Illinois Extension · Making Yogurt at Home, Best Practice Guide (modified May 2024) · read on October 25, 2026
-
29
Cheesecloth twice as wide as the bowl, folded double
“Cut a piece of cheesecloth twice as wide as the bowl or container used to drain the yogurt. Fold the cheesecloth in half to make a double layer.”
University of Illinois Extension · Making Yogurt at Home, Best Practice Guide (modified May 2024) · read on October 25, 2026
-
30
The cloth hangs above the bottom of the bowl
“Secure the cheesecloth so it hangs above the bottom of the bowl, tie it to a handle, or put a strainer between the bowl and the cheesecloth with yogurt.”
University of Illinois Extension · Making Yogurt at Home, Best Practice Guide (modified May 2024) · read on October 25, 2026
-
31
Illinois: 6 to 10 hours, undisturbed
“Incubate yogurt between 108-115 F for 6 to 10 hours, undisturbed.”
University of Illinois Extension · Making Yogurt at Home, Best Practice Guide (modified May 2024) · read on October 25, 2026
-
32
Straining is always done in the fridge
“Straining step must be performed under refrigeration.”
Province of British Columbia (Ministry of Health, BCCDC Environmental Health Services, Fraser Health), Guidelines for the Production of Dairy Products in Food Establishments · Sample documentation: Yogurt, production of dairy products in food service establishments · read on October 25, 2026
-
33
Moldy yogurt goes in the trash
“Yogurt and sour cream Discard Foods with high moisture content can be contaminated below the surface.”
USDA Food Safety and Inspection Service · Molds on Food: Are They Dangerous? · read on October 20, 2026
-
34
Don't sniff mold
“Don't sniff the moldy item. This can cause respiratory trouble.”
USDA Food Safety and Inspection Service · Molds on Food: Are They Dangerous? · read on October 20, 2026