 AI
Fermented harissa
Level 2 · some practice
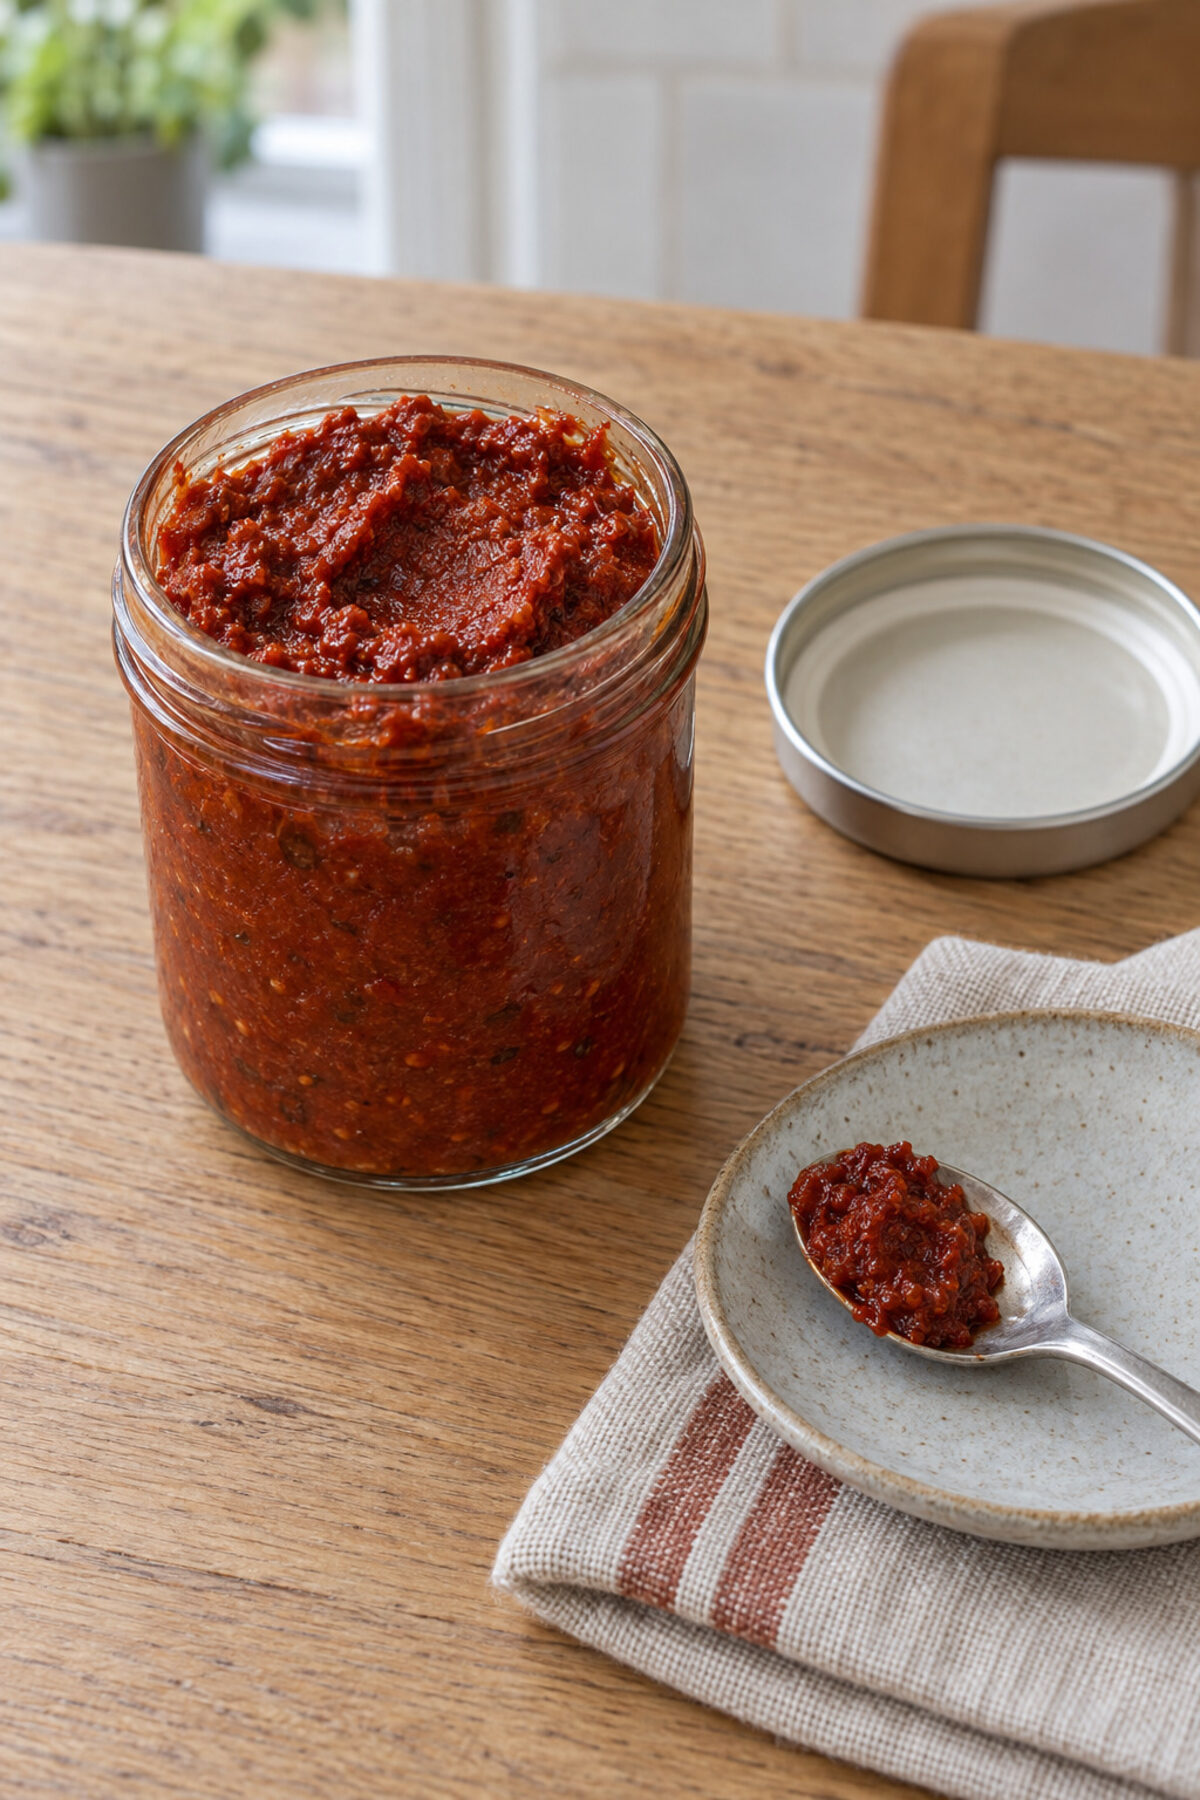
Red chilies and raw red bell pepper with garlic and spices, fermented with their salt and blended into a thick paste. Quite hot, full of spice, used by the teaspoon.
- Salt
- 2.5% 25 g per kilo of vegetables
- Time
- 3–4weeks
- Temperature
- 68–72°F
- Jar
- 1L
The golden rule: never less than 2% salt, and the blended sauce below pH 4.6 before bottling; always in the fridge.
No sign-up. We guide you step by step, from the scale to the fridge.
Reviewed October 26, 2026 · 33 facts, each with its source
You'll need
- 1-liter glass jar (about a quart)
- Glass weight, or a sealed freezer bag filled with brine
- Airlock lid or a regular lid
- Kitchen scale
- Disposable gloves
- Blender or food processor
- Small clean glass jars with lids
- pH strips or a pH meter
Step by step
-
Stem the chilies and seed the peppers
Wash the jar, the weight and the blender in hot soapy water and rinse them well. Put on gloves. Rinse the chilies and peppers with water, without scrubbing them. Pull the stems off the chilies, and remove the seeds if you want it milder. Open up the bell peppers, remove the stems, seeds and white ribs, and chop them. Peel the garlic. Weigh everything together, spices included: the salt is worked out from that weight.
Tip: The peppers go in raw. Don't roast or blanch them before fermenting.
-
Blend it with the salt and spices
Sprinkle the salt and the whole caraway, coriander and cumin seeds over the chilies, peppers and garlic. Blend everything into a coarse paste. The salt draws out their liquid and the paste turns wet. The seeds get ground the rest of the way at the end, when you blend it smooth.
Tip: The spices go in now and ferment with everything else. Nothing is added at the end: no spices, no oil.
-
Press the paste into the jar
Spoon the paste into the jar and press it down until the liquid covers it. Leave room at the top: in the first days it rises and gives off gas.
Tip: Everything has to stay under the liquid: mold needs air.
-
Add the weight, close the jar and let it ferment
Set the weight so everything stays under the liquid and close the jar whichever way suits you. With no weight, a zip-top freezer bag filled with brine and sealed does the same: it fits the mouth of the jar and, if it leaks, does not dilute the salt. At 68–72 °F it takes 3 to 4 weeks; colder, 5 to 6. It's ready when the bubbling stops and the pH is 4.6 or lower. If the bubbling has stopped but the pH is still above, give it longer and measure again every day or two.
Close it the way you prefer
- Airlock lid
- Lets the gas out without letting air in: nothing to do.
- Regular lid
- Close it, and each time you check on it, loosen it for a moment to let the gas out. Close it again right away.
-
Blend it into a thick paste and check the pH
If the paste has released a lot of liquid, pour a little off before blending. Blend it until smooth and spreadable. Don't add vinegar or water: harissa is a paste, not a sauce. The finished paste must be pH 4.6 or lower; in practice, 4.2 or lower.
Tip: To measure the pH of a thick paste, take 100 g, mix it with 10 to 20 ml of distilled water and measure that. The water goes only in the sample you measure, not in the harissa. On a red paste, strips are hard to read: a meter works better.
-
Pack it into jars and into the fridge
Fill clean jars, pressing the paste down with a spoon so no air bubbles are left. Close them and keep them in the fridge, where it stops fermenting and keeps for months. Always scoop it out with a clean spoon.
Tip: Don't cover it with oil to make it last. Homemade paste under oil is exactly what to avoid.
No sign-up. We guide you step by step, from the scale to the fridge.
Variations
The same method, a different flavor. Once you have this one down, try one of these.
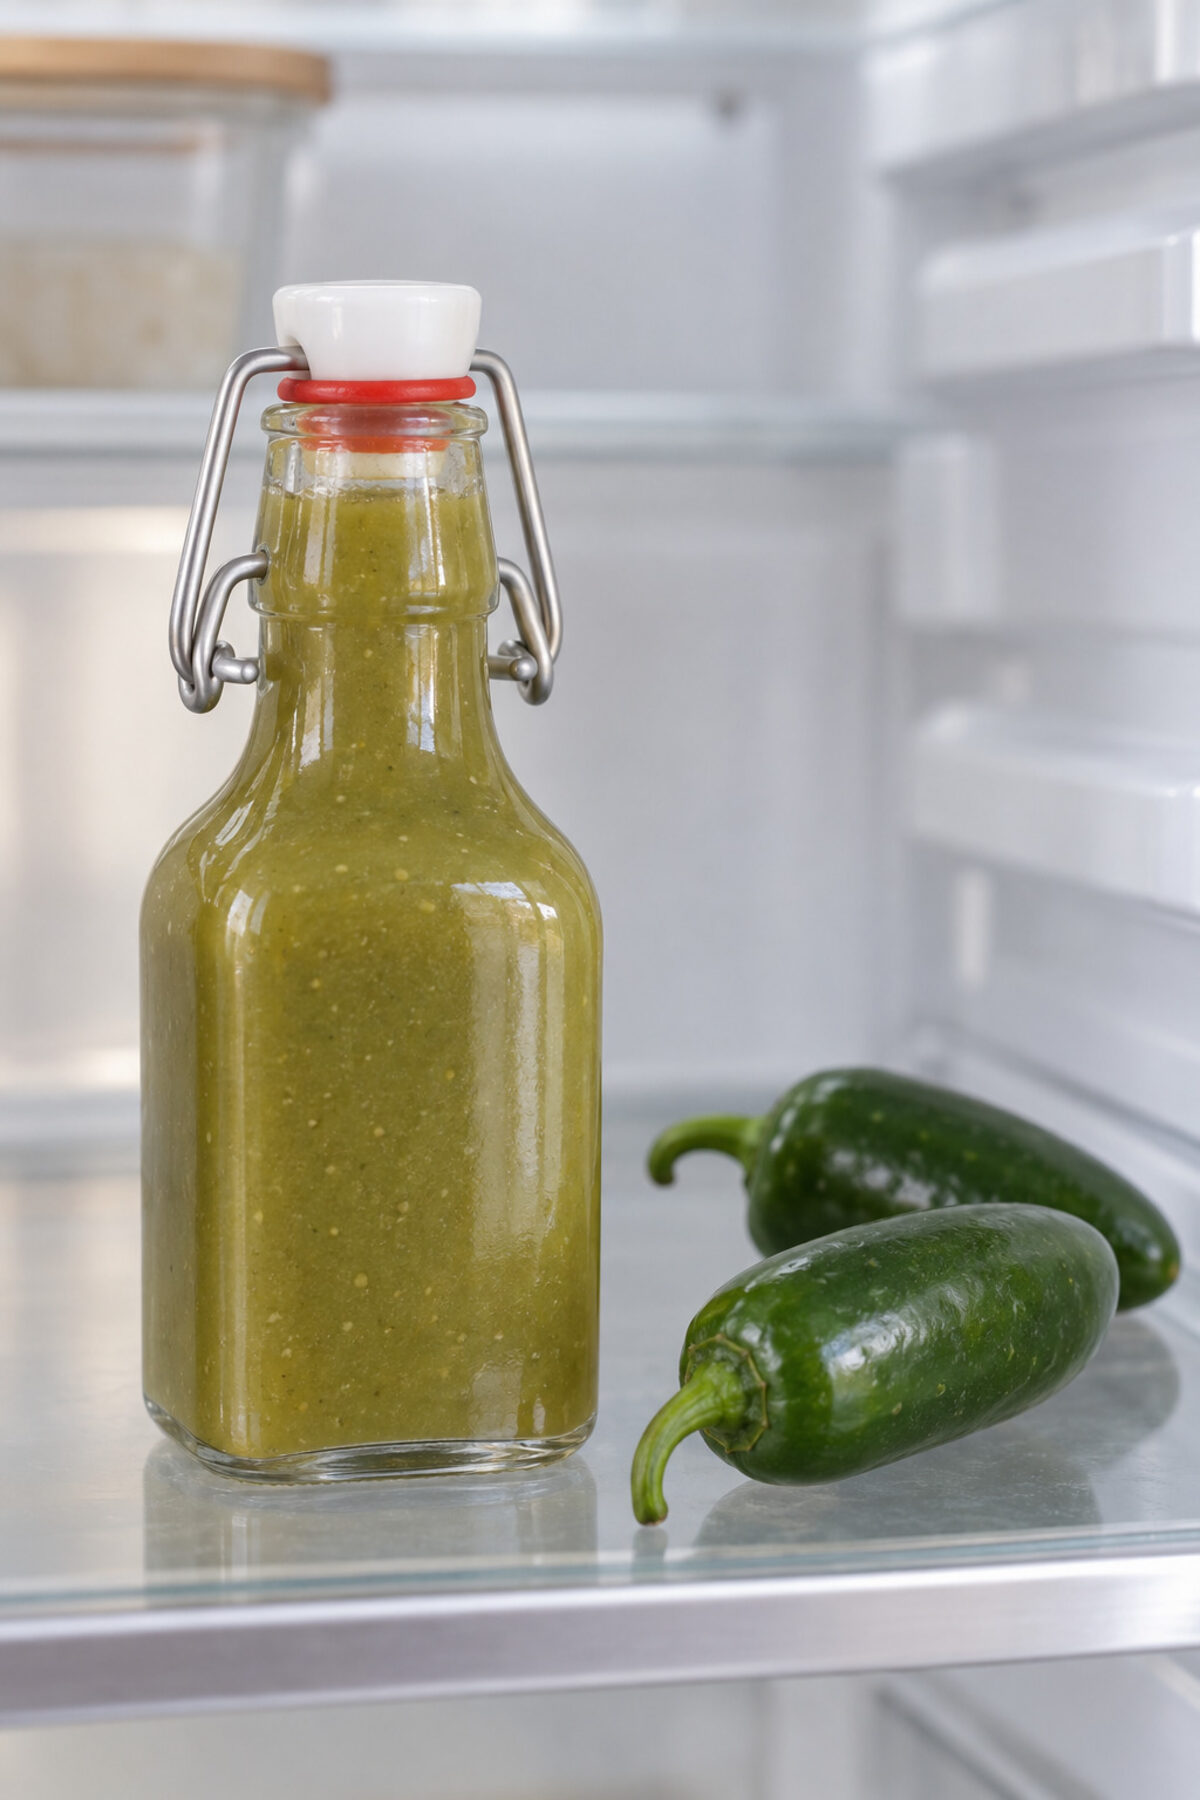
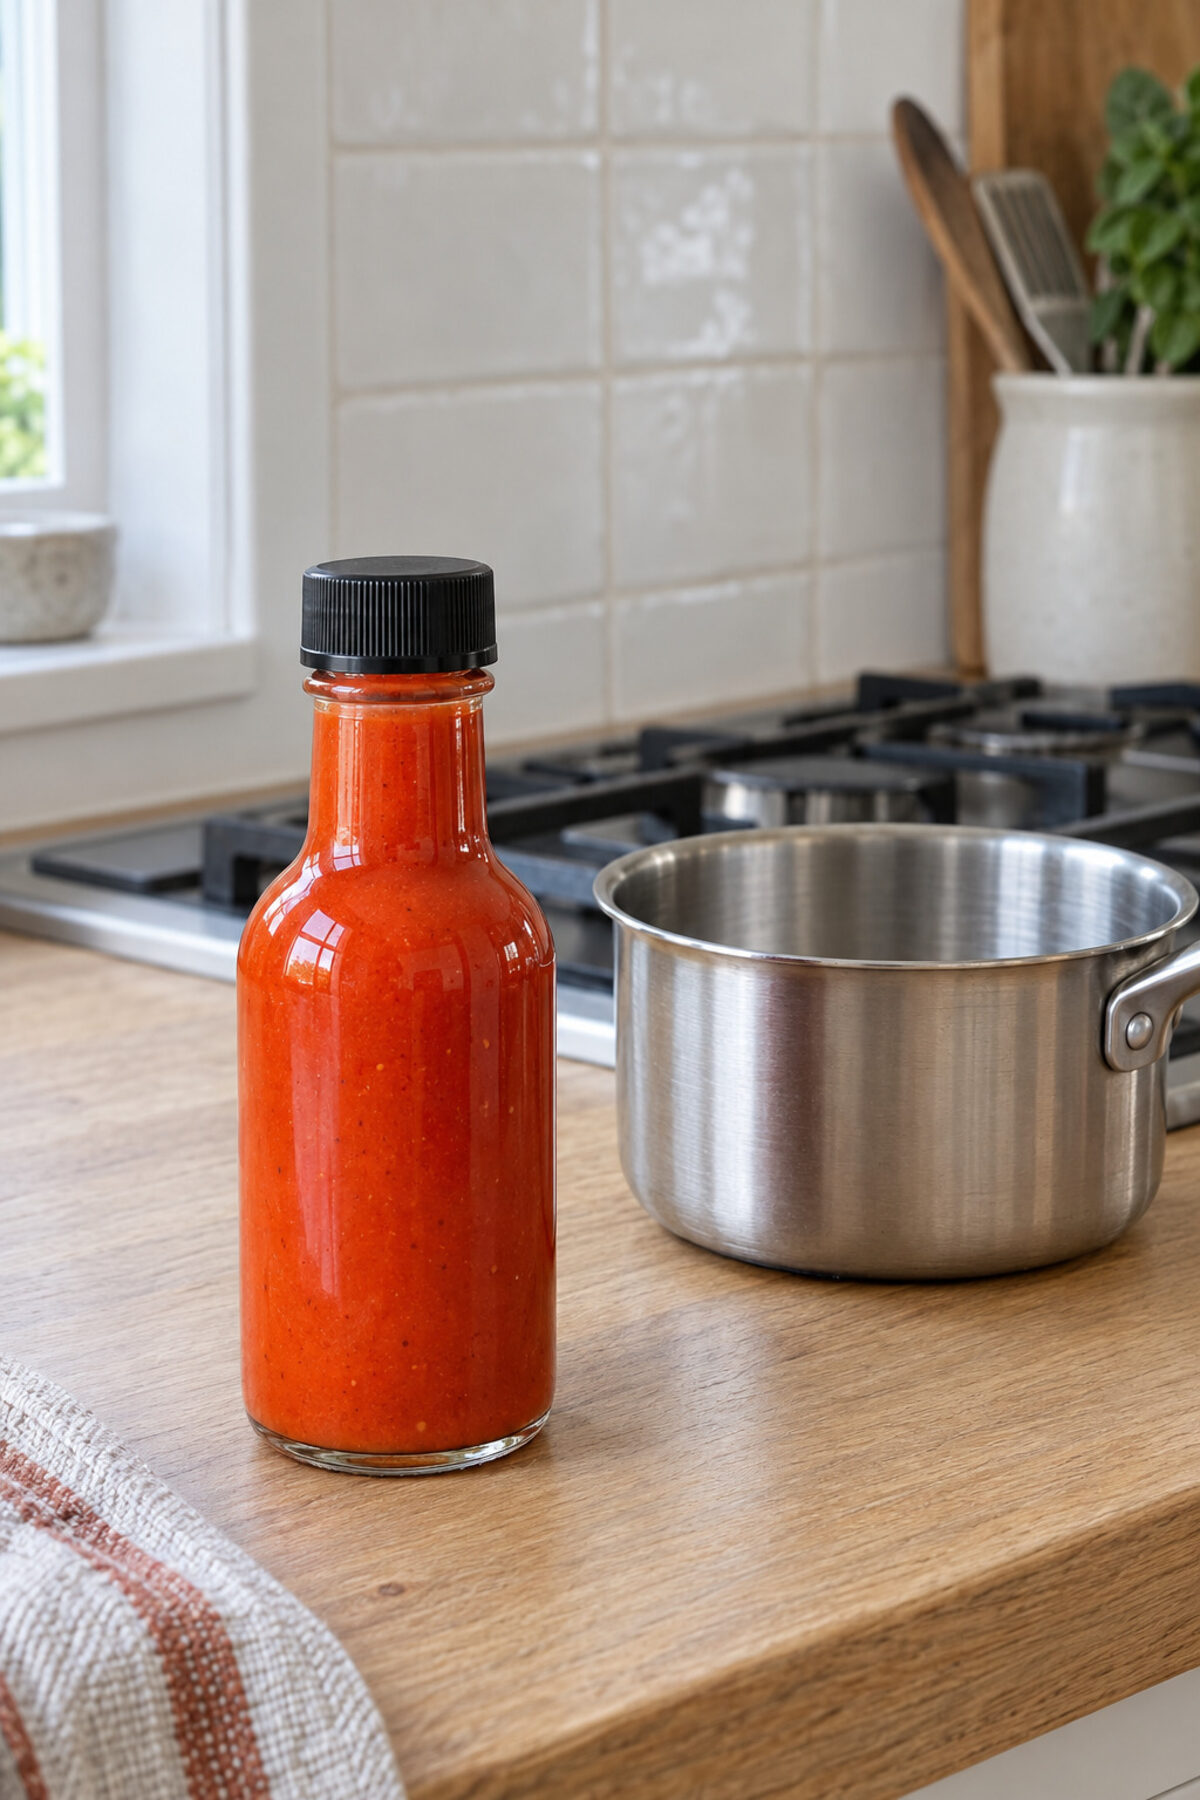
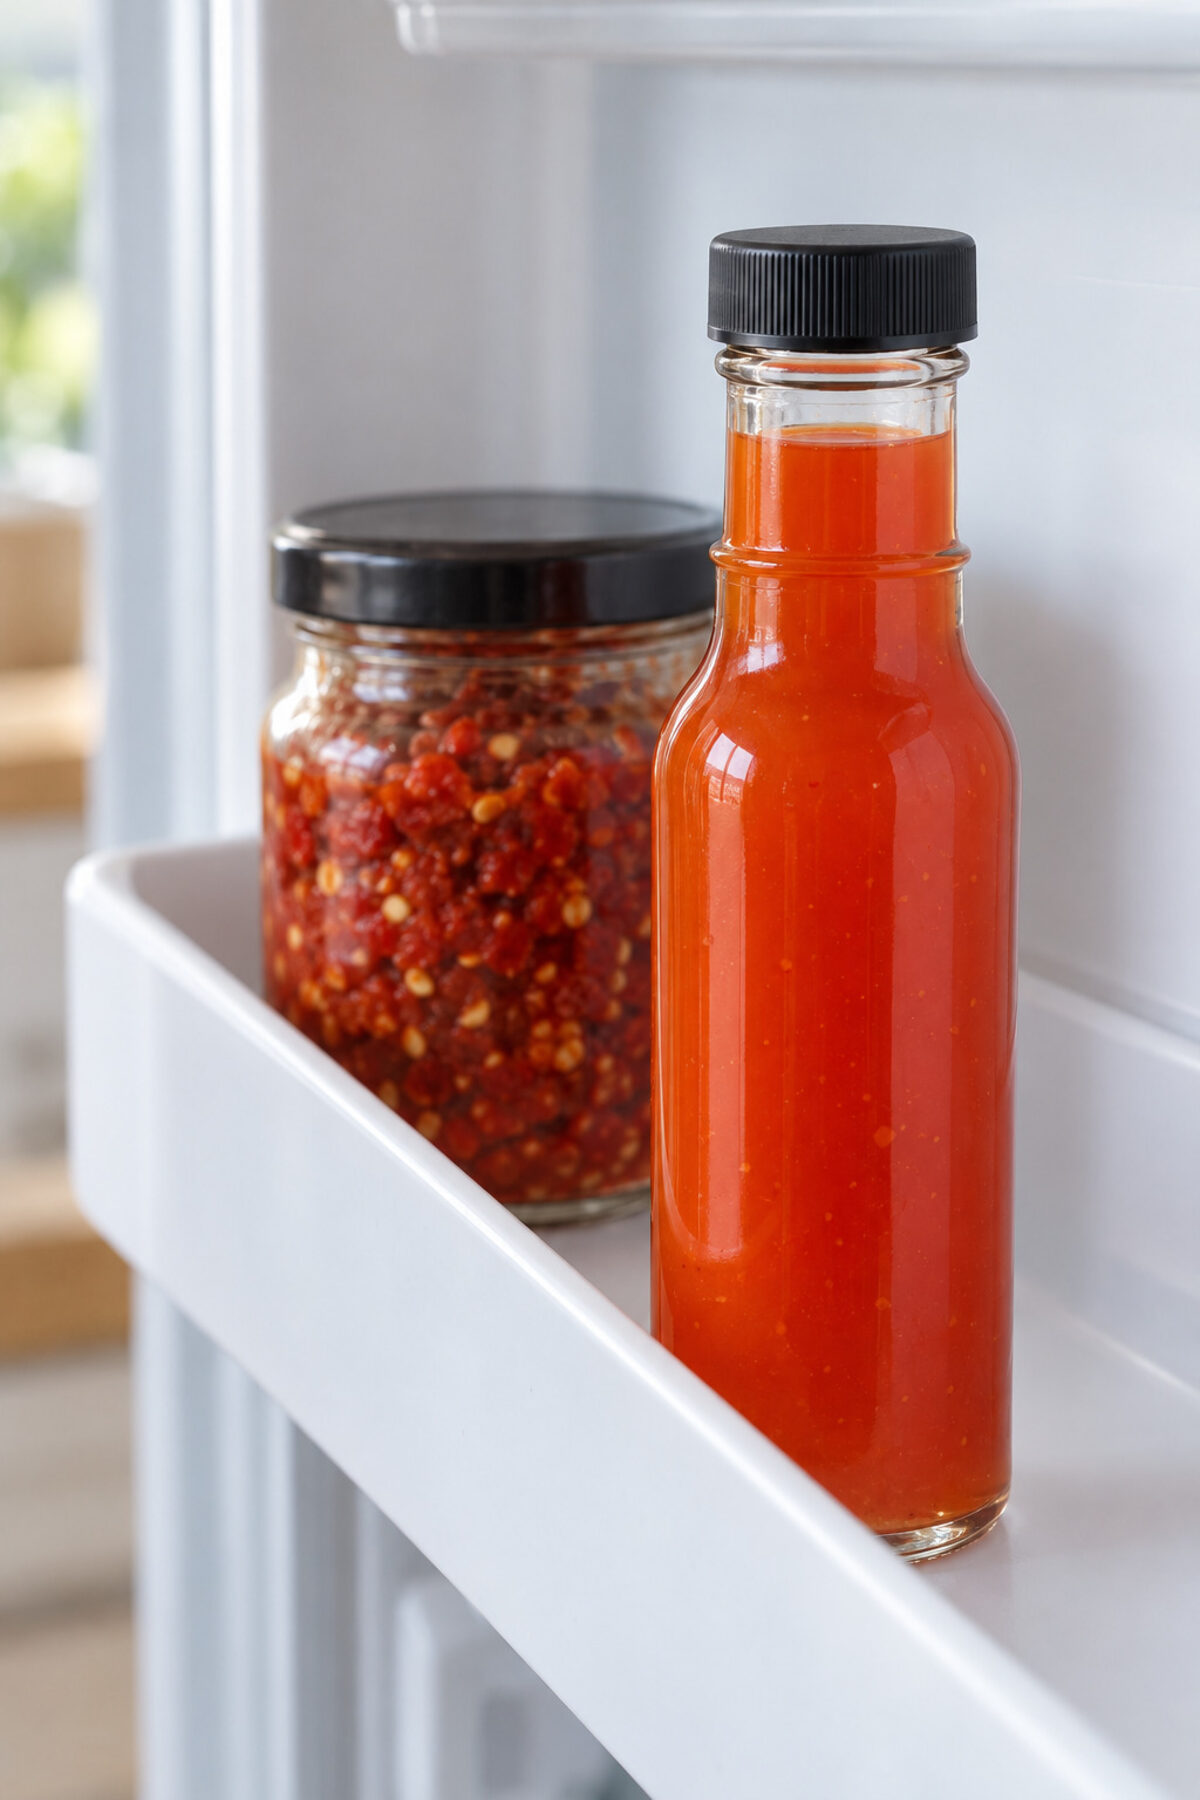
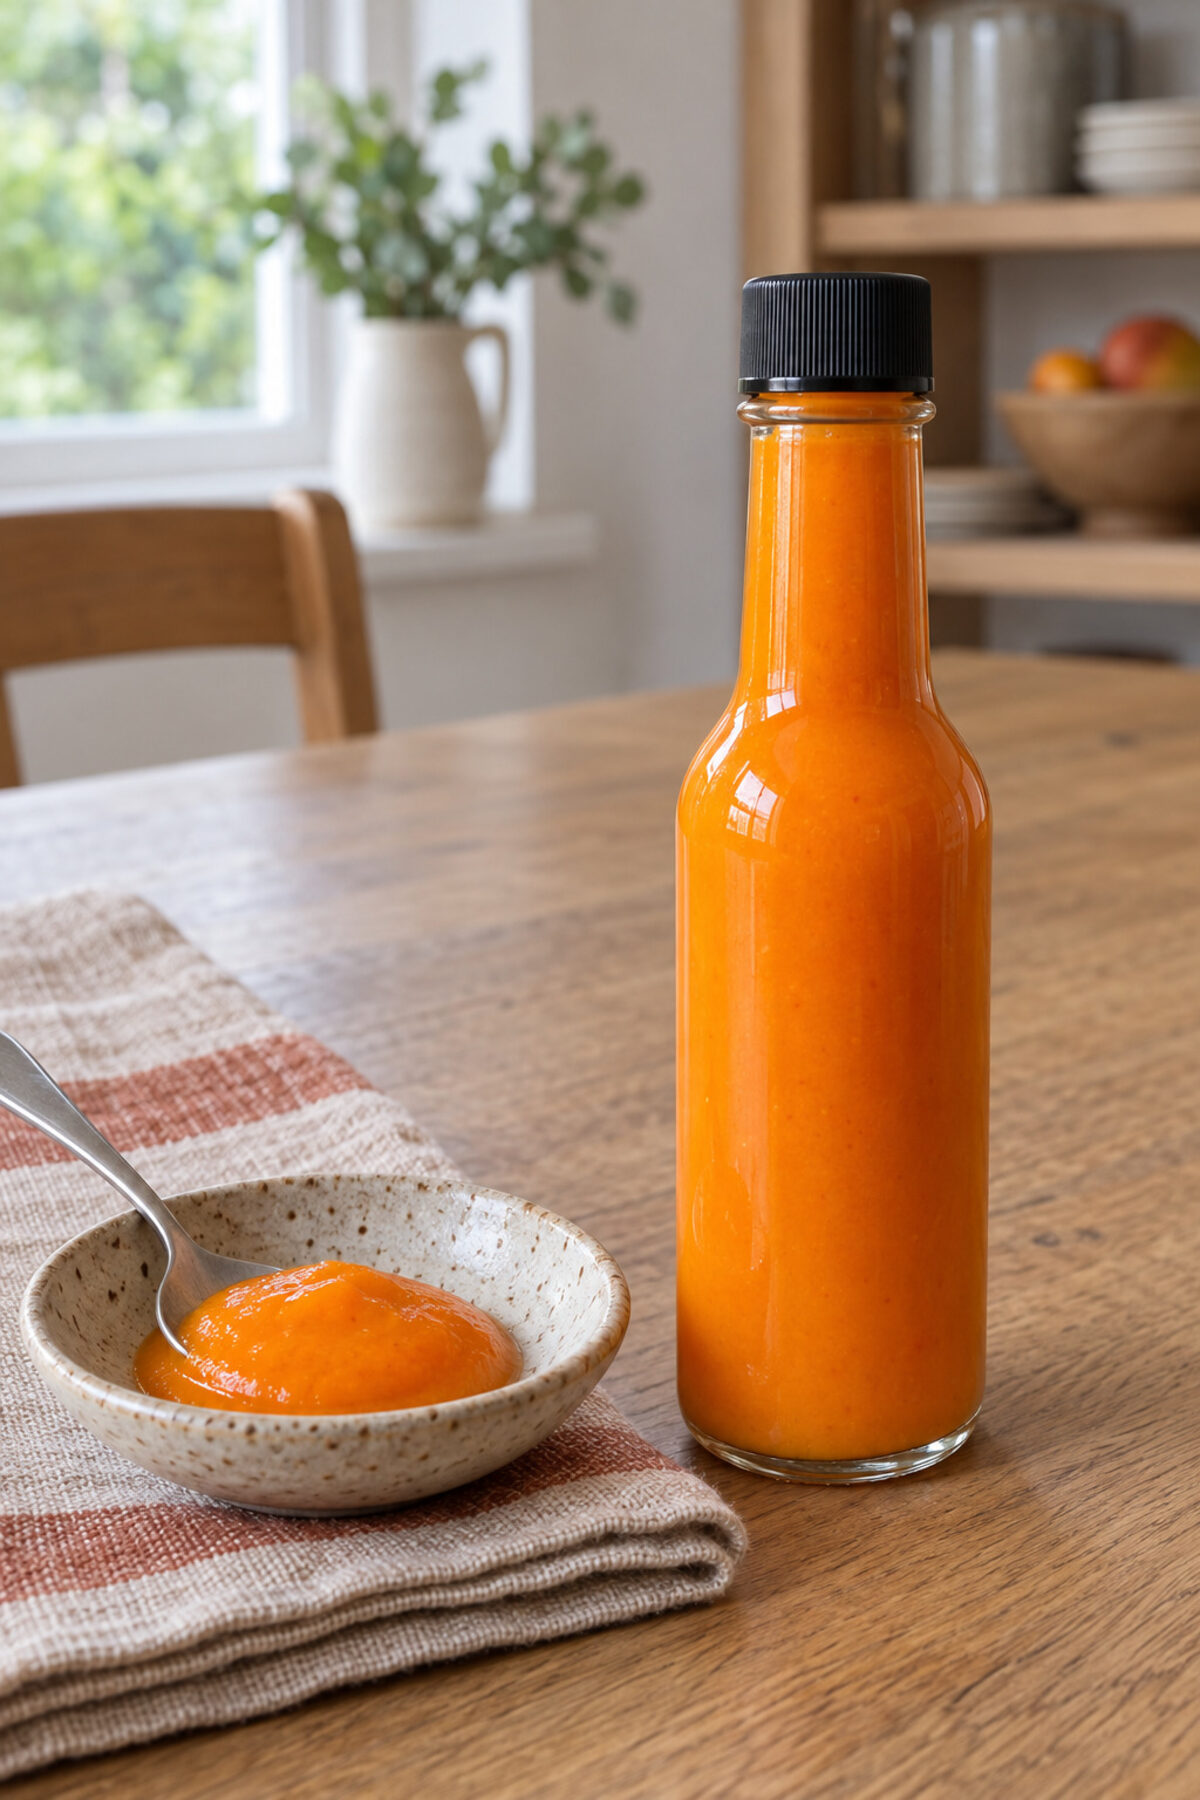
What you'll see
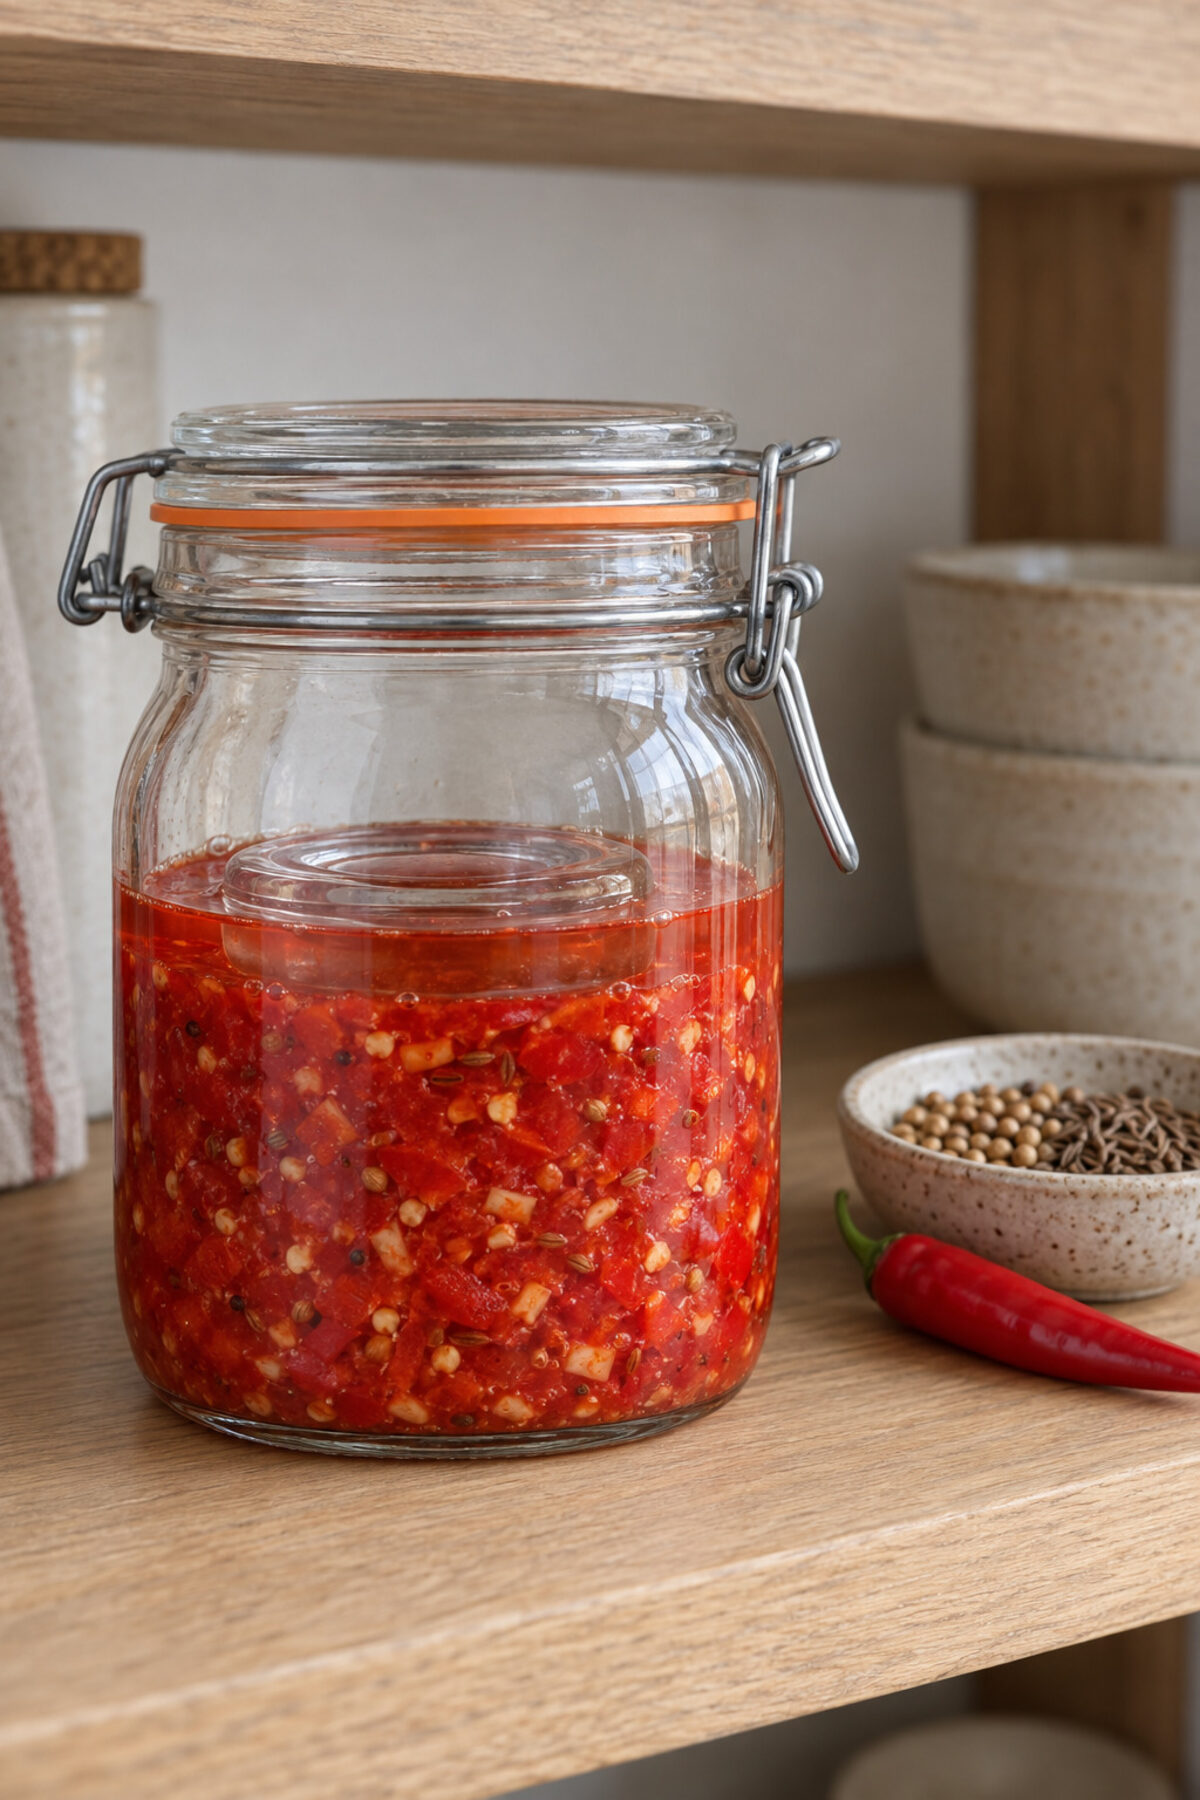
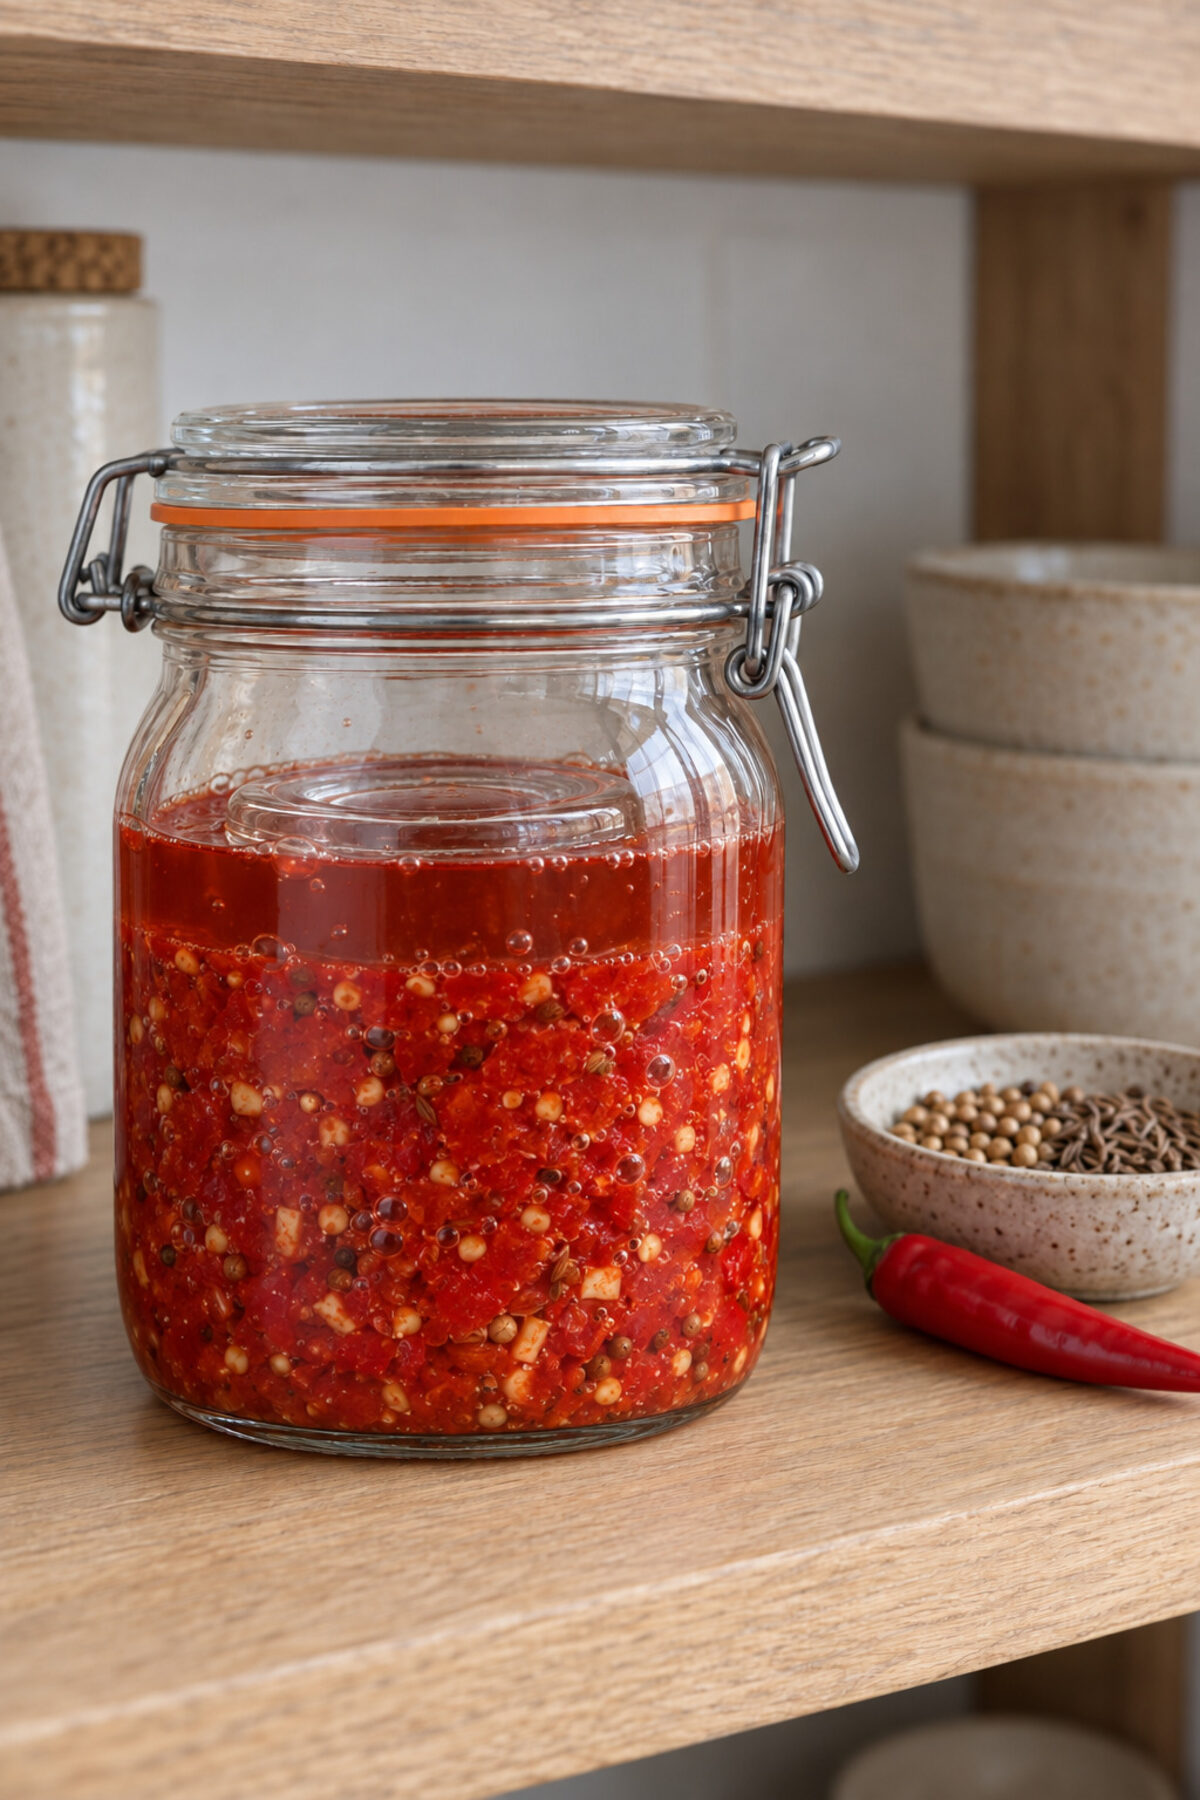
Harissa is the red chili paste of North Africa, above all Tunisia: chili, garlic and spices, thick and used by the teaspoon. This one has fresh red chilies and red bell pepper, which brings body and sweetness without adding heat. The spice you taste most is caraway, the one in Tunisian harissa, with coriander seeds and a little cumin. The peppers go in raw, not roasted. Roasted, they'd taste smokier, but heating vegetables before fermenting them tends to activate spores, like those of botulism, and trigger them into growing. Jarred harissa often has a layer of oil on top; this one has no oil, in it or on it. It goes well with couscous, eggs, beans or grilled meat.
 AI
 AI
AI
How to tell it's going well
- Never less than 2% salt on the weight of the chilies and aromatics.
- Everything under the liquid while it ferments.
- The finished sauce below pH 4.6, measured once the blend has evened out. We recommend 4.2 or lower.
- Always in the fridge. Keeping it out would take a controlled pH and a heat treatment that can't be checked at home.
- Never in oil. Neither the paste under oil nor the sauce.
- Fuzz or green, blue, brown or black spots: that's mold. Throw out the whole batch.
- A putrid smell: throw it out.
Where every number comes from
Every number in this recipe comes from a food safety guide. We keep a copy of each source and quote its exact words.
-
1
25 g of salt per kilo
“2.5% 25 g / kg food”
UC Master Food Preservers, Inyo-Mono · Brine Math Made Easy · read on October 20, 2026
-
2
Tested recipes range from 2 to 10% salt
“Tested recipes will fall between 2% and 10% brine concentrations.”
UC Master Food Preservers, Inyo-Mono · Brine Math Made Easy · read on October 20, 2026
-
3
It is not safe to cut the salt
“It is unsafe to reduce salt in lactofermented vegetables.”
UC Master Food Preservers, Inyo-Mono · Brine Math Made Easy · read on October 20, 2026
-
4
Salt without additives, such as canning salt
“The salt used in fermentation should contain no additives. Canning or pickling salt is recommended”
University of Illinois Extension · Fermentation handout (2020) · read on October 20, 2026
-
5
Don't scrub the chilies, or you'll remove the bacteria that ferment them
“Do not scrub the produce, as you may remove the good bacteria needed for fermentation.”
University of Minnesota Extension · Preserving food at home: Fermentation (reviewed 2026) · read on October 25, 2026
-
6
3 to 4 weeks; 5 to 6 below 68 °F
“Allow your product to ferment for 3 to 4 weeks. If temperatures are below 68 degrees Fahrenheit, fermentation may take 5 to 6 weeks.”
University of Minnesota Extension · Preserving food at home: Fermentation (reviewed 2026) · read on October 25, 2026
-
7
Ready at pH 4.60 or lower, with the bubbling stopped
“When a pH of 4.60 or lower is reached and bubbling has stopped, the ferment is ready.”
University of Minnesota Extension · Preserving food at home: Fermentation (reviewed 2026) · read on October 25, 2026
-
8
If the pH is still above, keep going and measure every day or two
“If bubbling has stopped but the pH is still above 4.60, continue to ferment and check the pH every 1 to 2 days.”
University of Minnesota Extension · Preserving food at home: Fermentation (reviewed 2026) · read on October 25, 2026
Show the remaining 25 claims
-
9
In the fridge it stops fermenting and keeps up to 9 months
“Refrigeration stops the fermentation process. Fermented produce can be kept refrigerated for up to 9 months.”
University of Minnesota Extension · Preserving food at home: Fermentation (reviewed 2026) · read on October 25, 2026
-
10
Open the lid only briefly
“The lid should only be opened briefly to limit oxygen from entering the container.”
University of Minnesota Extension · Preserving food at home: Fermentation (reviewed 2026) · read on October 25, 2026
-
11
Gloves to protect yourself from the chili
“Disposable food handler gloves (highly recommended) for protection from red pepper powder”
Colorado State University Extension · Understanding and Making Kimchi (2025) · read on October 20, 2026
-
12
Everything washed in hot soapy water and rinsed well
“Wash all surfaces and containers that will be used with hot sudsy water and rinse well before use.”
K-State Research and Extension (Kansas State University) · Taking a New Look at Fermented Foods (MF3491, June 2020) · read on October 20, 2026
-
13
The airlock lets the gas out
“it is important to vent the jar with a one-way valve to release the gases that form during fermentation.”
K-State Research and Extension (Kansas State University) · Taking a New Look at Fermented Foods (MF3491, June 2020) · read on October 20, 2026
-
14
Without an airlock, loosen the lid now and then
“If a one-way valve is not used, the gases will need to be released manually by loosening the lid occasionally.”
K-State Research and Extension (Kansas State University) · Taking a New Look at Fermented Foods (MF3491, June 2020) · read on October 20, 2026
-
15
Everything under the liquid
“All produce should be submerged in the brine liquid.”
UC Davis, Department of Food Science and Technology · Common issues with fermented fruits and vegetables (v1.0, 15-mar-2022) · read on October 20, 2026
-
16
Mold needs air
“Molds require oxygen to grow.”
UC Davis, Department of Food Science and Technology · Common issues with fermented fruits and vegetables (v1.0, 15-mar-2022) · read on October 20, 2026
-
17
If there's mold, the whole batch goes
“If you confirm mold growth on any part of a ferment, it should be immediately discarded.”
UC Davis, Department of Food Science and Technology · Common issues with fermented fruits and vegetables (v1.0, 15-mar-2022) · read on October 20, 2026
-
18
Mold is usually green, blue, brown or black
“Mold is typically green, blue, brown, or black in color.”
UC Davis, Department of Food Science and Technology · Common issues with fermented fruits and vegetables (v1.0, 15-mar-2022) · read on October 20, 2026
-
19
A white film is usually kahm yeast
“This film is typically yeast, often referred to by home fermenters as Kahm yeast.”
UC Davis, Department of Food Science and Technology · Common issues with fermented fruits and vegetables (v1.0, 15-mar-2022) · read on October 20, 2026
-
20
A putrid smell means a failed ferment
“A putrid smell indicates a failed fermentation.”
UC Davis, Department of Food Science and Technology · Common issues with fermented fruits and vegetables (v1.0, 15-mar-2022) · read on October 20, 2026
-
21
The pH must not rise above 4.6
“The pH can be checked periodically to ensure it does not rise above 4.6.”
UC Davis, Department of Food Science and Technology · Common issues with fermented fruits and vegetables (v1.0, 15-mar-2022) · read on October 20, 2026
-
22
A hot sauce must end below pH 4.6
“When making a hot sauce, the pH must be less than 4.6.”
SDSU Extension (South Dakota State University) · How to Make a Safe Hot Sauce (updated October 2023) · read on October 25, 2026
-
23
Vinegar makes sure the pH ends below 4.6
“an acid, such as vinegar, should be added to ensure that the pH is below 4.6”
SDSU Extension (South Dakota State University) · How to Make a Safe Hot Sauce (updated October 2023) · read on October 25, 2026
-
24
Bring the sauce to a boil
“Additionally, hot sauces should be brought to a boil.”
SDSU Extension (South Dakota State University) · How to Make a Safe Hot Sauce (updated October 2023) · read on October 25, 2026
-
25
In practice, 4.2 or lower
“but in practice this value is usually 4.2 or below for safety reasons.”
Cornell Food Venture Center (Cornell AgriTech) · Acid & Acidified Foods · read on October 25, 2026
-
26
The pH that counts is the blend's, once it has evened out
“Equilibrium pH means the final pH measured in the acidified food after all the components of the food have achieved the same acidity.”
Cornell Food Venture Center (Cornell AgriTech) · Acid & Acidified Foods · read on October 25, 2026
-
27
Under pressure, bottles can burst when opened
“The build-up of pressure in the bottles may cause them to explode upon opening.”
Singapore Food Agency · Recall of “Huy Fong Sriracha Hot Chilli Sauce” (media release, 27 December 2019, updated) · read on October 25, 2026
-
28
Don't keep homemade vegetables in oil
“Das BfR rät daher davon ab, selbst erzeugte Produkte wie Gemüse in Öl oder Kräuter in Öl im Privathaushalt auf Vorrat zu produzieren und zu lagern.”
Bundesinstitut für Risikobewertung (BfR) · Selbst hergestellte Kräuteröle und in Öl eingelegtes Gemüse bergen gesundheitliche Risiken (Mitteilung Nr. 001/2016) · read on October 25, 2026
-
29
Mold can't be scooped off
“The mold cannot be scooped out, as the roots will still be in your food and could make you sick.”
Ask Extension (Clackamas County Extension, Oregon State University) · Pickle/olive brine surface mold spots #889210 · read on October 20, 2026
-
30
The bag holds brine: if it leaks, the salt is not diluted
“It is recommended that the brine solution be stored in plastic bags to ensure that the fermentation brine is not diluted should the bag leak or break.”
Virginia Cooperative Extension (Virginia Tech) · Vegetable fermentation (FST-328, reviewed 2025) · read on October 26, 2026
-
31
The bag, well sealed
“Be sure to seal the plastic bag.”
National Center for Home Food Preservation (USDA, University of Georgia) · Suitable Containers, Covers, and Weights for Fermenting Food · read on October 26, 2026
-
32
Vegetables aren't heated before fermenting, because heat activates spores
“We don't heat treat the vegetables before we start the fermentation. Heat treatment tends to activate bacterial spores (like C. bot) and trigger them into growing.”
Ask Extension (Oregon State University; expert answer by Joy Waite-Cusic) · Should botulism bacteria be a concern making fermented hot sauce? (#815501, 2022) · read on October 25, 2026
-
33
To measure a paste's pH, 10 to 20 ml of distilled water per 100 g
“If more fluidity is required, 10 to 20 milliliters of distilled water may be added to 100 grams of product.”
U.S. Food and Drug Administration, Code of Federal Regulations (eCFR) · 21 CFR 114.90 Methodology: determining pH · read on October 26, 2026