 AI
Fermented asparagus
Level 1 · beginner
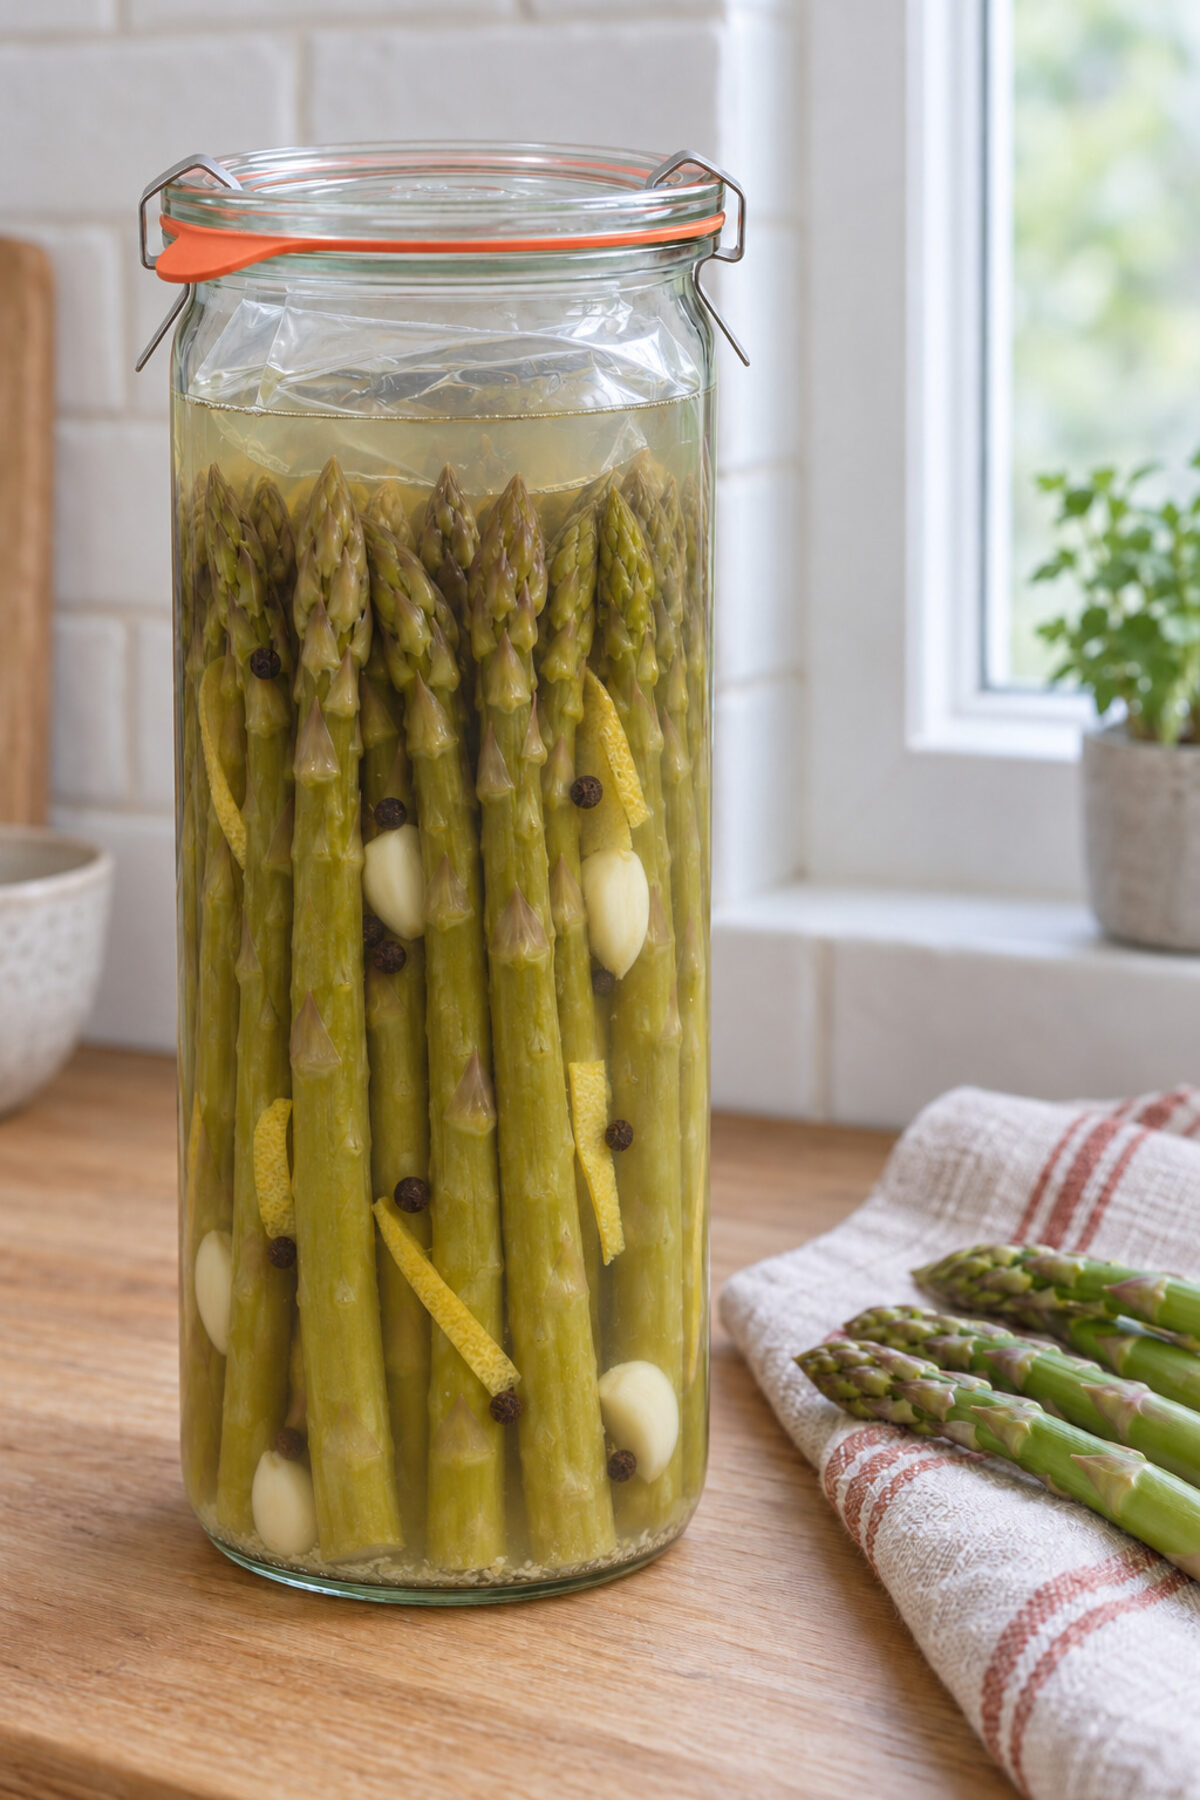
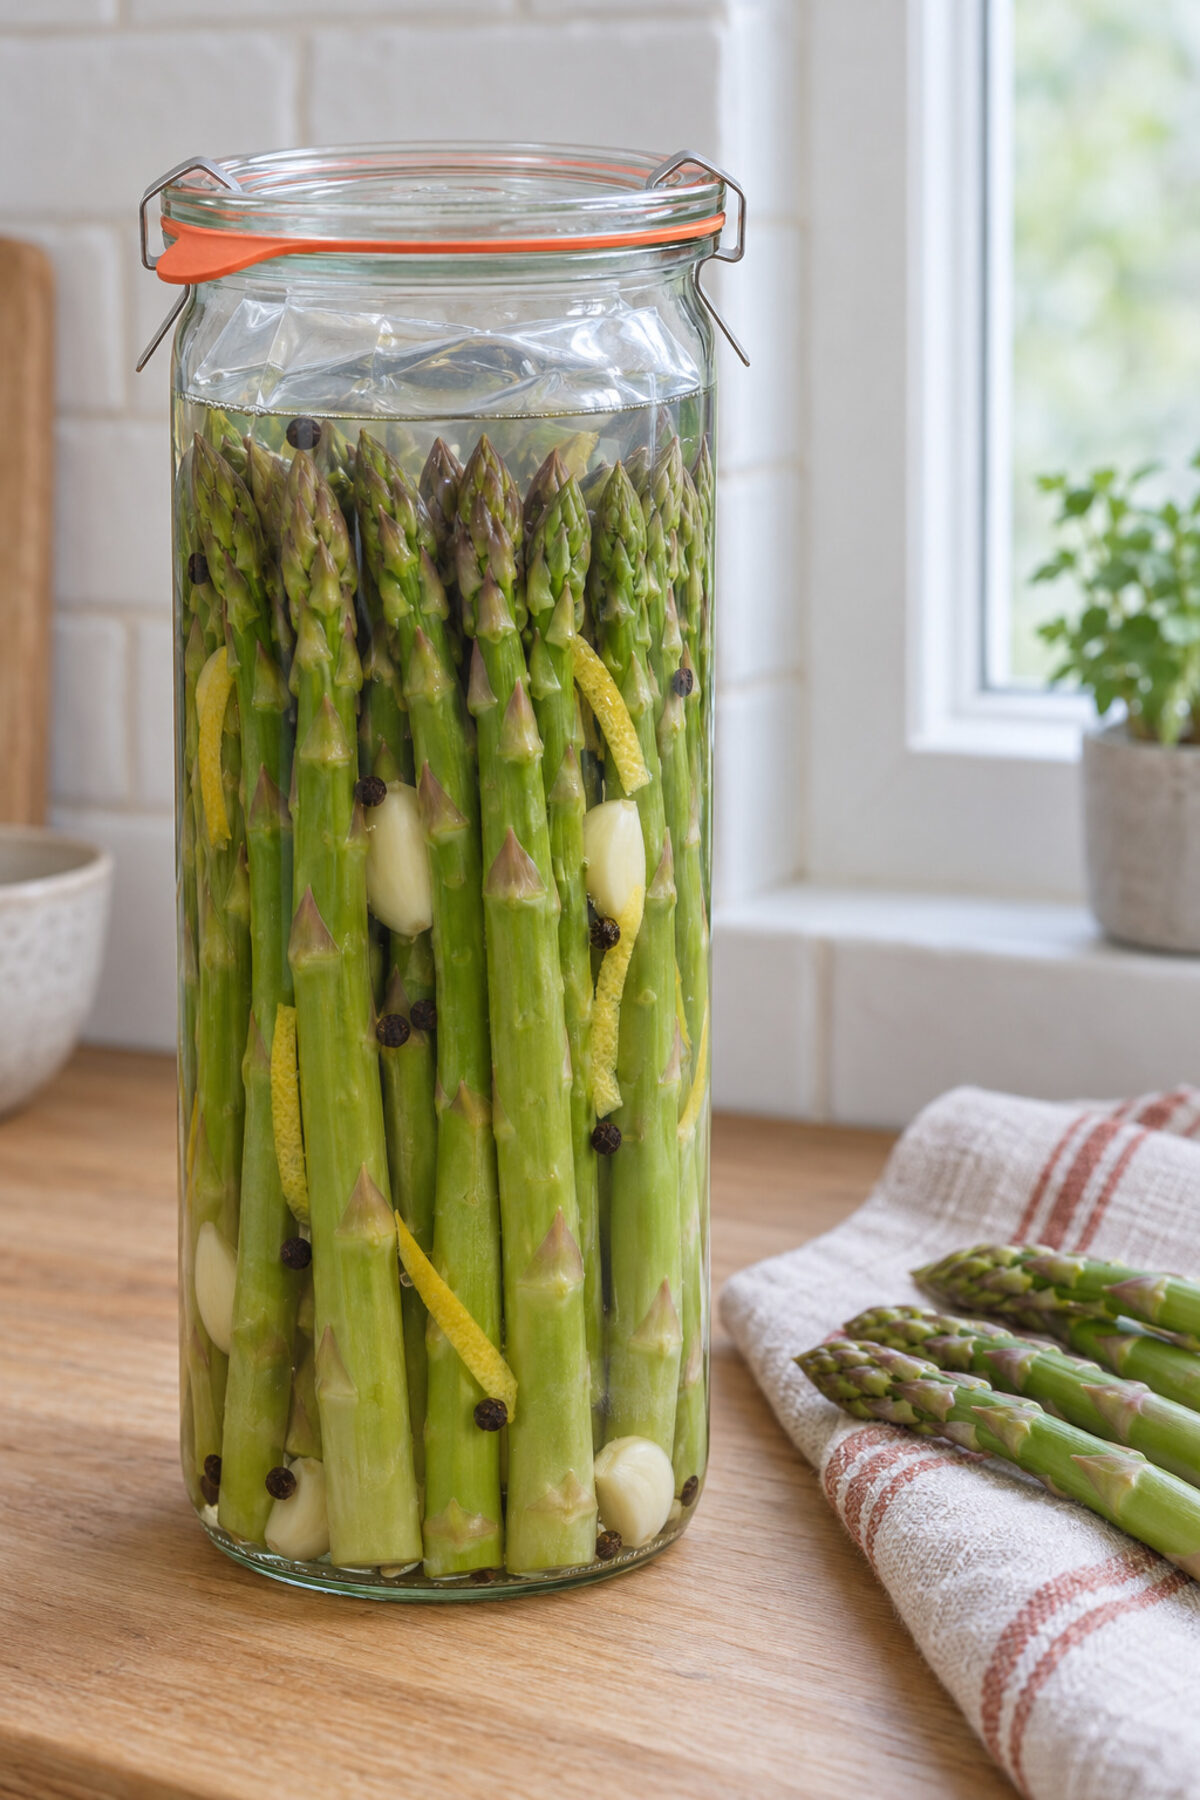
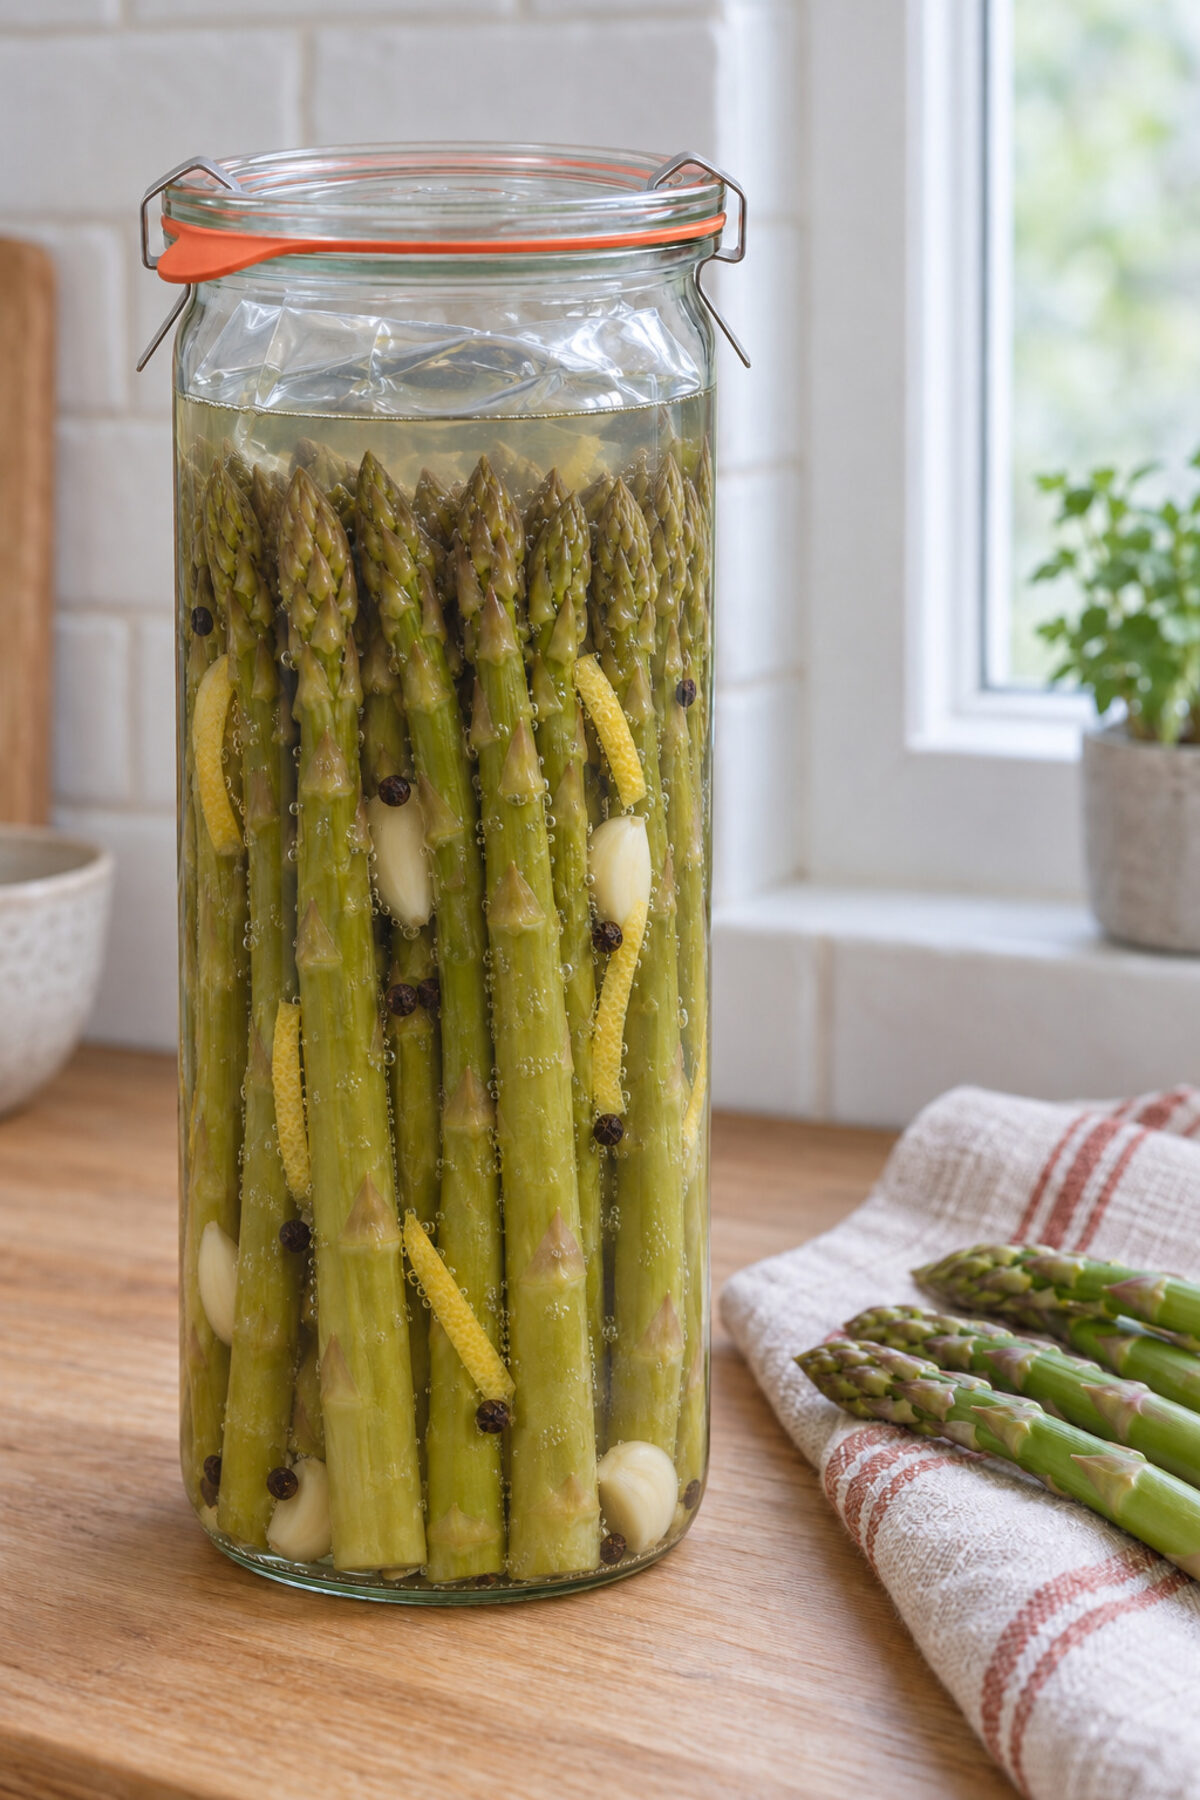
Whole green asparagus spears standing in brine with garlic and lemon. They turn sour, with crunchy stalks and softer tips.
- Salt
- 5% 50 g per liter of water
- Time
- Several weeks
- Temperature
- 68–72°F
- Jar
- 1L
The golden rule: keep everything under the brine and never use less than 2% salt over the water.
No sign-up. We guide you step by step, from the scale to the fridge.
Reviewed October 26, 2026 · 47 facts, each with its source
You'll need
- 1-liter glass jar (about a quart)
- Glass weight, or a sealed freezer bag filled with brine
- Airlock lid or a regular lid
- Kitchen scale
Step by step
-
Snap off the woody ends and cut the spears to fit the jar
Wash the jar, the weight and the cutting board in hot soapy water and rinse them well. Wash the asparagus, taking care not to damage the tips. Bend each spear near the base: it snaps where the woody part begins, which you throw away. If they're still taller than the shoulder of the jar, trim them from the base, never from the tip. Peel the garlic. Pare the lemon peel into strips, without the white pith, which is bitter.
Tip: Pack them the same day you buy or pick them: once cut, they should start fermenting as soon as possible.
-
Dissolve the salt in the water
Weigh the water and the salt and stir until it dissolves. Use salt without iodine or additives, such as canning salt.
Tip: Filtered or spring water is best: tap water usually has chlorine. Never use distilled water.
-
Stand the spears up, tips on top
Stand the spears upright, tips up, packed tightly enough that they don't move. Tuck the garlic, lemon peel and peppercorns in between.
Tip: Use an unwaxed lemon, or scrub it well under hot water before peeling.
-
Cover with the brine and add the weight
Pour the brine up to the neck of the jar. The vegetables need to sit 1 to 2 inches below it; set the weight on top so they don't float. With no weight, a zip-top freezer bag filled with brine and sealed does the same: it fits the mouth of the jar and, if it leaks, does not dilute the salt.
Tip: No more and no less than the neck. Filled to the brim, it can overflow as it bubbles; with lots of air at the top, mold comes more easily.
-
Close it and let it ferment
Close the jar and keep it at 68–72 °F. Bubbles tell you it's fermenting; it usually takes several weeks. Taste a piece: the longer it goes, the more sour it gets. When you like it, move it to the fridge, where it keeps for months.
Close it the way you prefer
- Airlock lid
- The lid keeps air out and the airlock lets the gas escape: nothing to do.
- Regular lid
- Close it, and each time you check on it, loosen it for a moment to let the gas out. Close it again right away.
Tip: At 60–70 °F it's slower but turns out better than in the heat. In summer, check it often.
No sign-up. We guide you step by step, from the scale to the fridge.
Variations
The same method, a different flavor. Once you have this one down, try one of these.
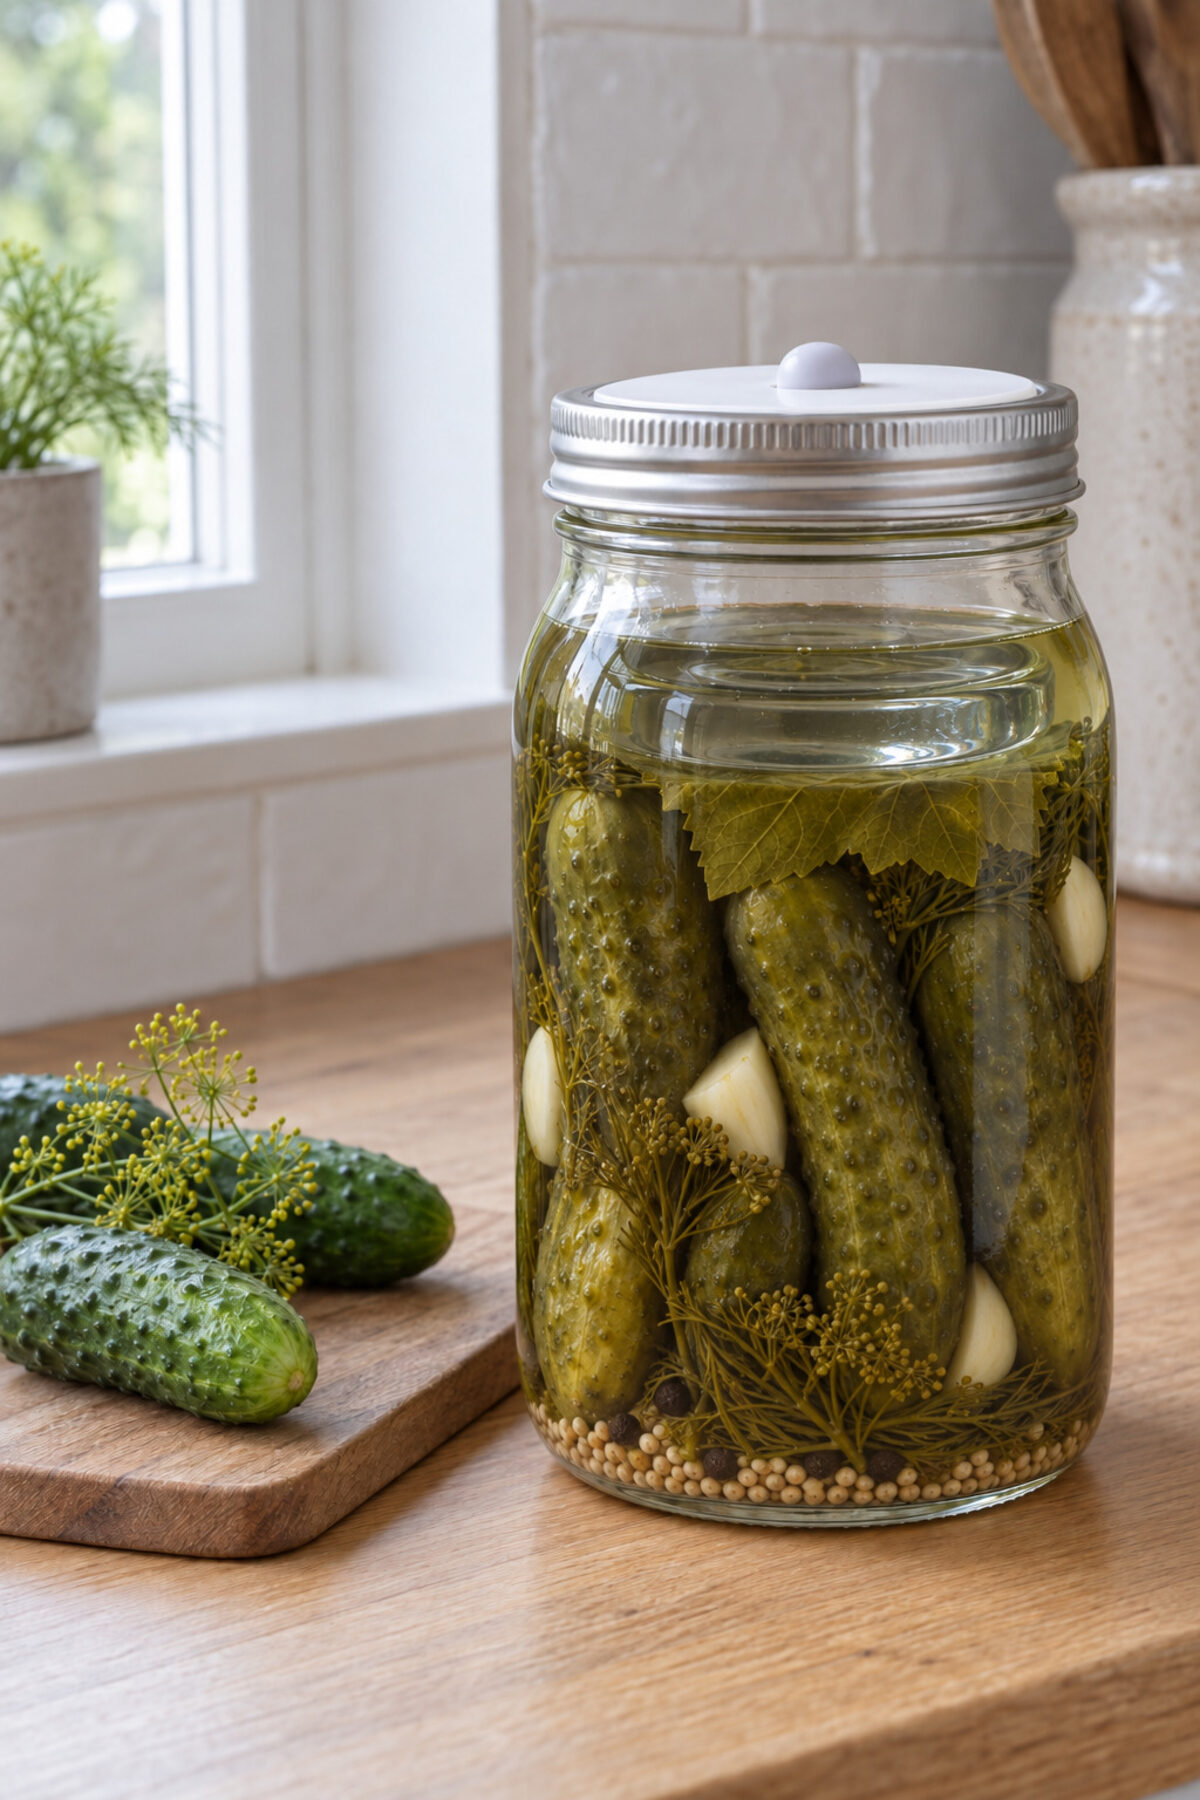
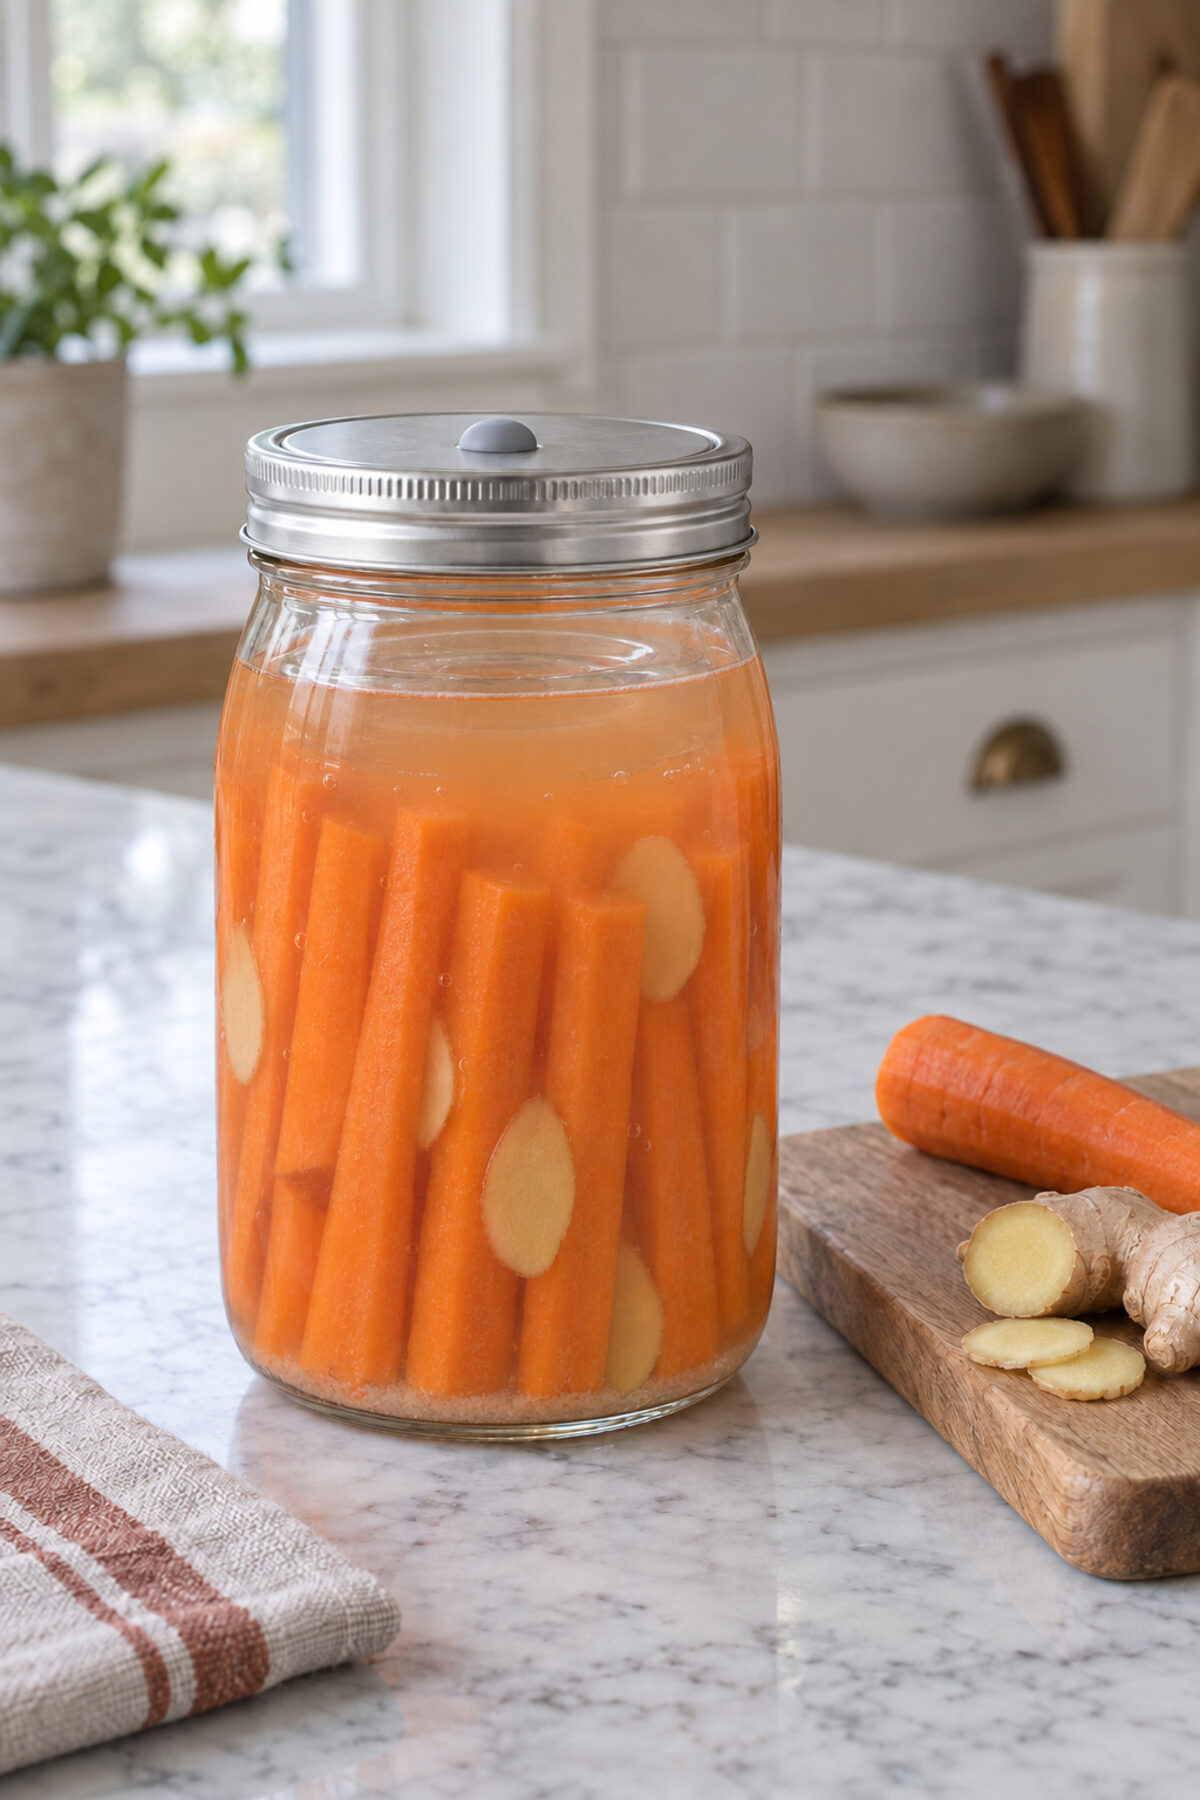
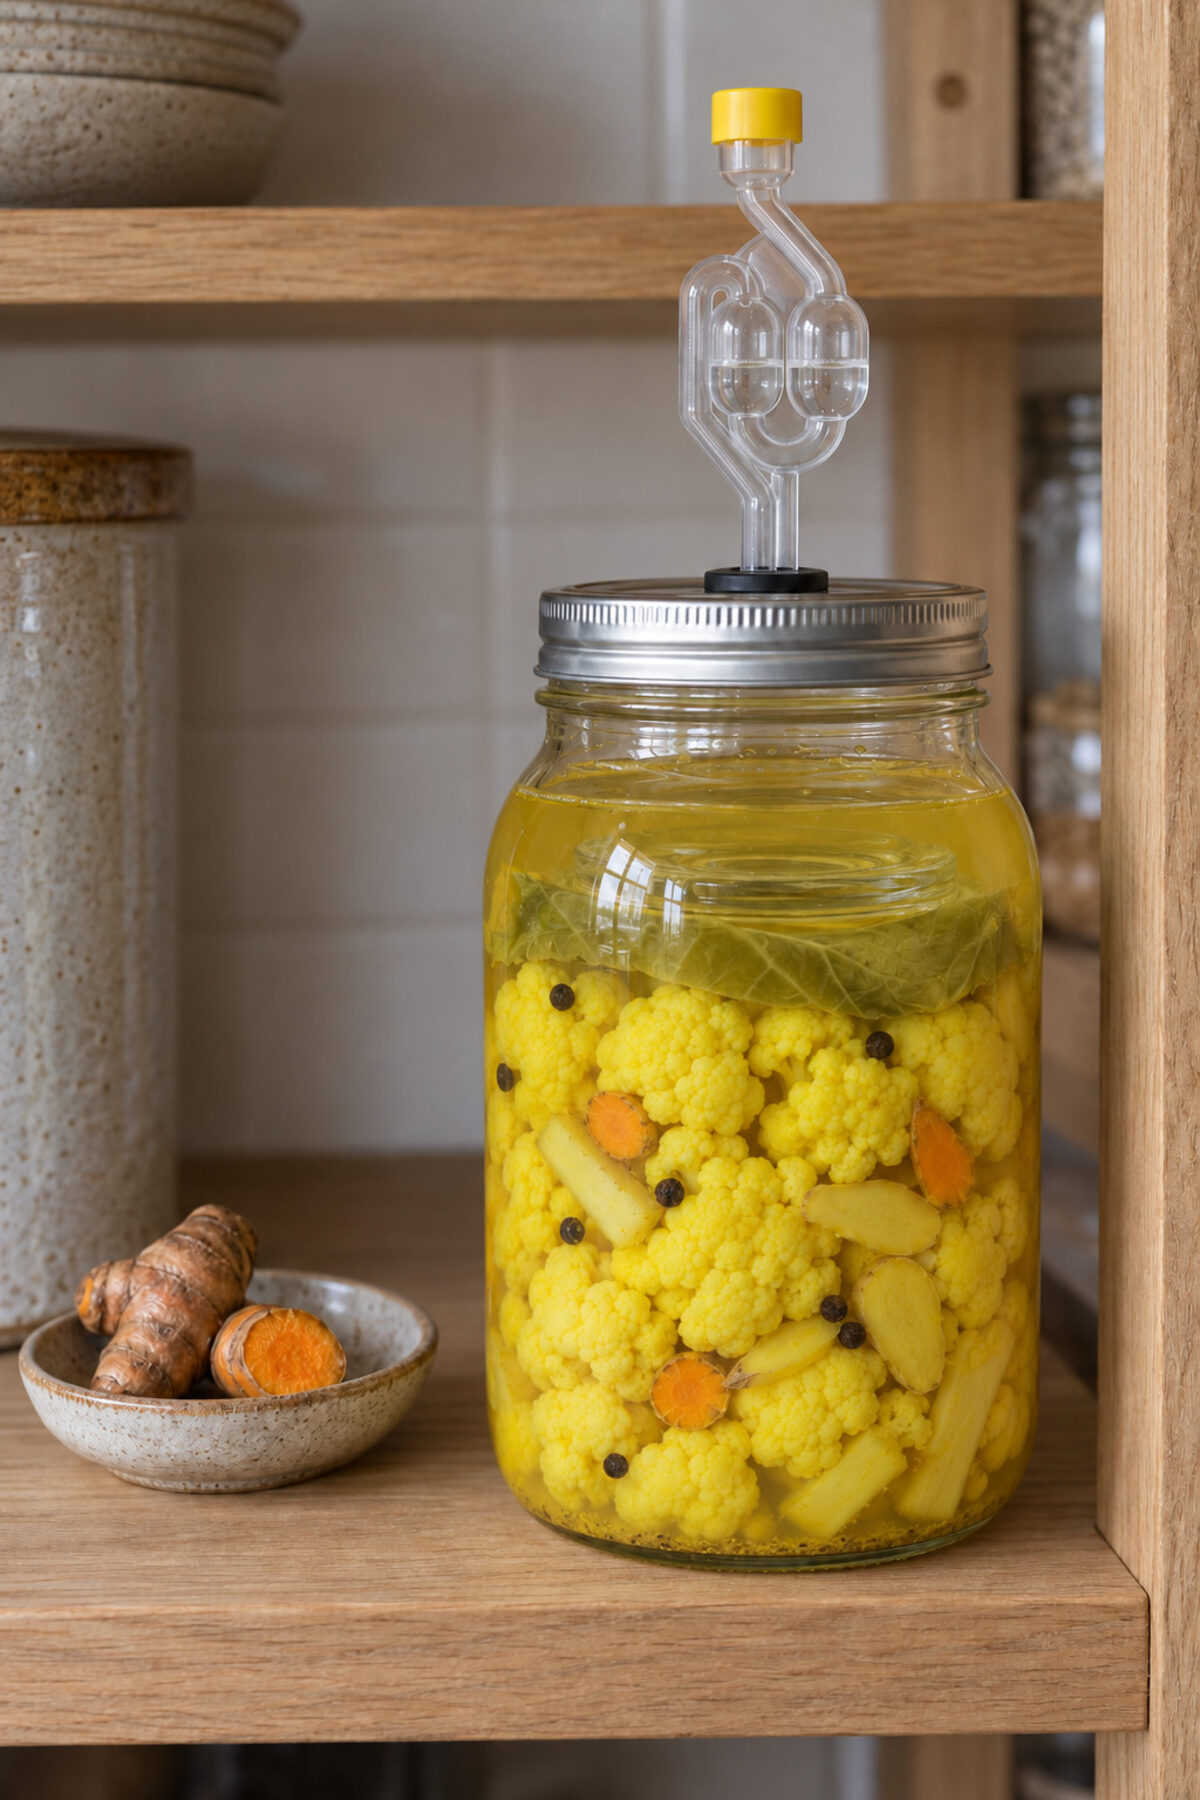
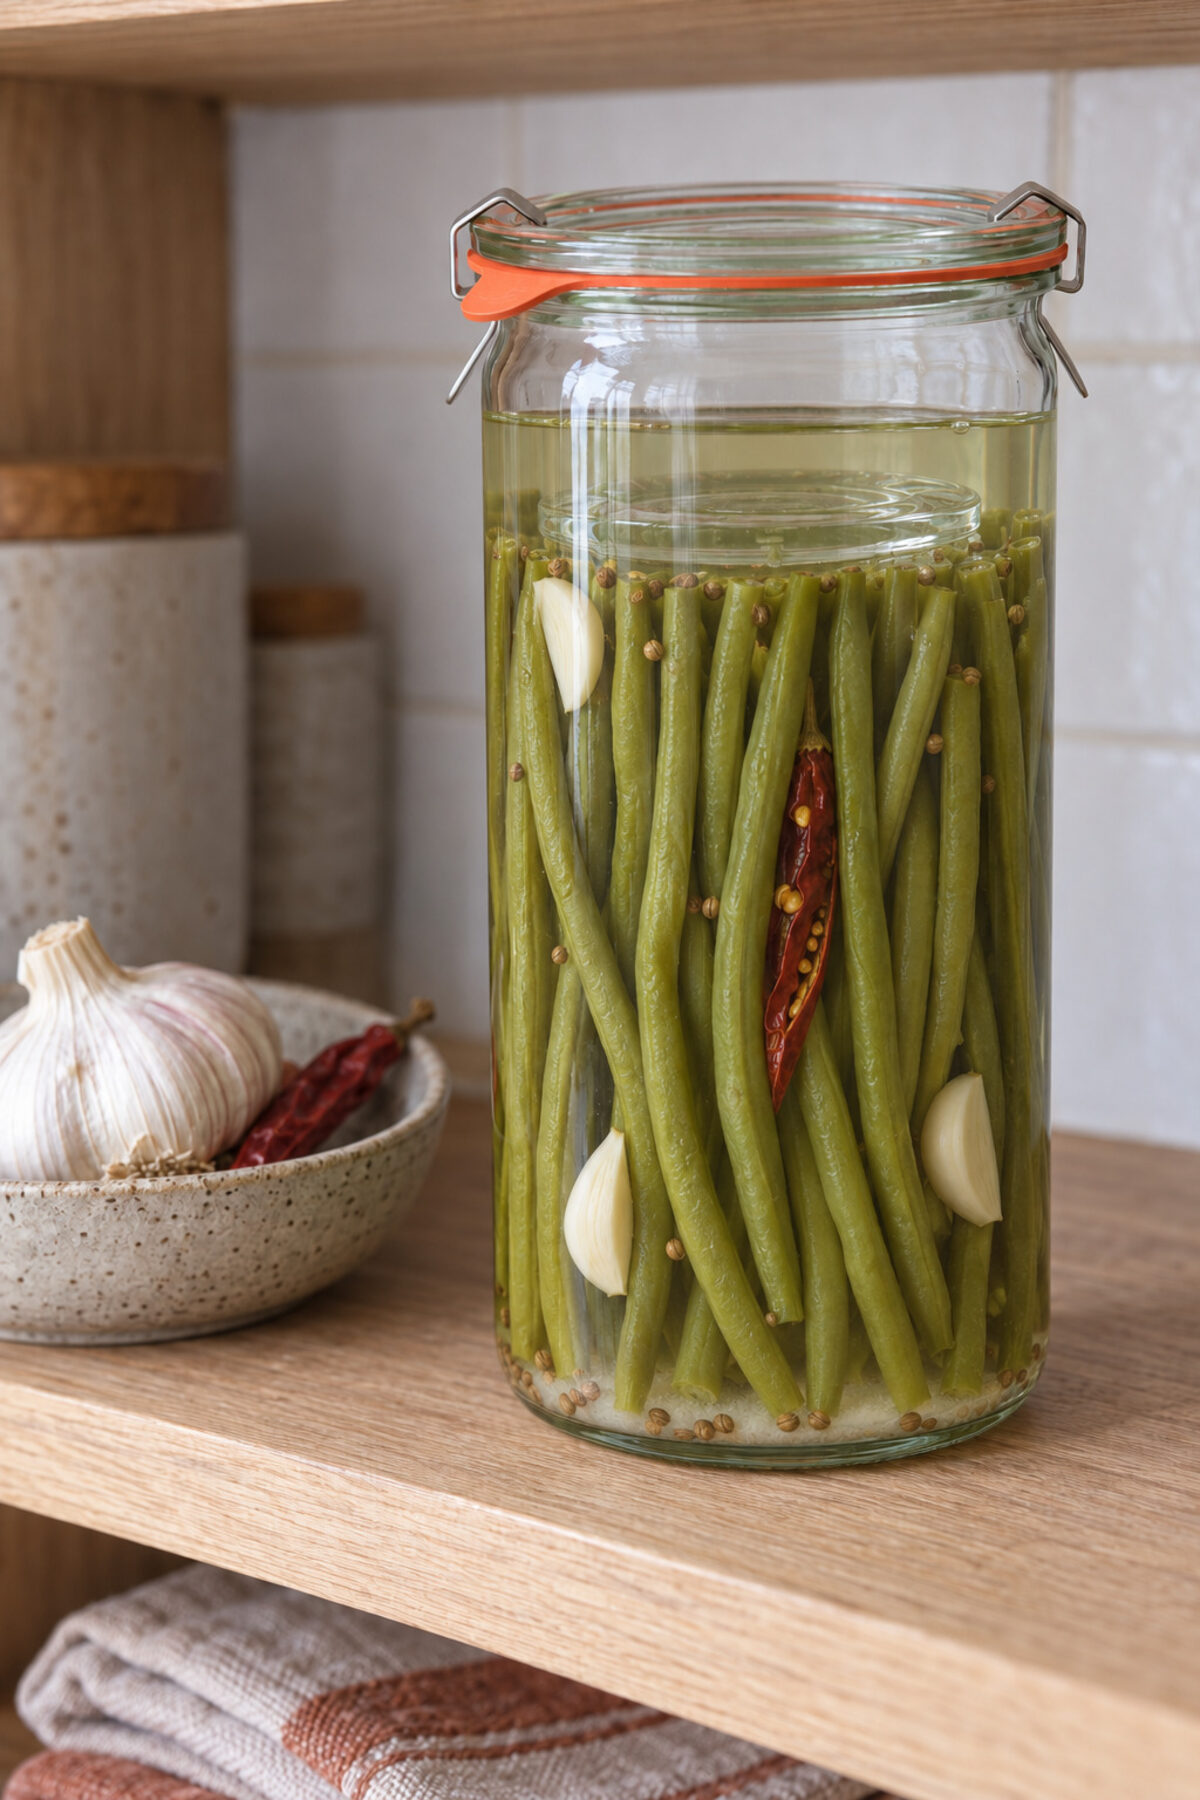
What you'll see
Asparagus season is short, and fermenting it is a way to stretch it. The spears go in whole and upright, with garlic and a few strips of lemon peel. The stalks stay crunchy and the tips, which are more tender, soften sooner: that's why it pays to use fresh spears that aren't too thin. It takes the usual 5% brine: 50 g of salt per liter of water. Serve it cold, as a snack or in salads.
 AI
 AI
AI
How to tell it's going well
- Never less than 2% salt. Cutting the salt in a vegetable ferment is not safe.
- The salt is weighed against the water, not the vegetables.
- Everything under the brine, 1 to 2 inches, from start to finish. Mold needs air, and anything poking out can spoil.
- Fuzz or green, blue, brown or black spots: that's mold. Throw out the whole batch; it can't be scooped off.
- A white, gray or pink film: usually kahm yeast. Skim it off daily: too much of it lowers the acidity.
- Slimy or putrid-smelling: throw it out. Well fermented, it smells pleasantly sour.
- Below pH 4.6, the limit the guides set. We suggest waiting for 4.2 before the fridge.
- Once fermented, into the fridge. Left out, it keeps fermenting until it's too sour and no longer fit to eat.
Where every number comes from
Every number in this recipe comes from a food safety guide. We keep a copy of each source and quote its exact words.
-
1
Chunks go in brine; shredded vegetables are dry-salted
“Liquid brines are usually used for fermenting chunks, whereas salt is directly mixed with shredded or minced foods like sauerkraut.”
UC Master Food Preservers, Inyo-Mono · Brine Math Made Easy · read on October 20, 2026
-
2
50 g of salt per liter of water is a 5% brine
“5% 50 g / L liquid”
UC Master Food Preservers, Inyo-Mono · Brine Math Made Easy · read on October 20, 2026
-
3
Tested recipes range from 2 to 10% salt
“Tested recipes will fall between 2% and 10% brine concentrations.”
UC Master Food Preservers, Inyo-Mono · Brine Math Made Easy · read on October 20, 2026
-
4
It is not safe to cut the salt
“It is unsafe to reduce salt in lactofermented vegetables.”
UC Master Food Preservers, Inyo-Mono · Brine Math Made Easy · read on October 20, 2026
-
5
About 450 g of vegetables and half a liter of brine per jar
“Plan on using about 1 pound of vegetables per 1-quart jar and about 2 cups of brine.”
K-State Research and Extension (Kansas State University) · Taking a New Look at Fermented Foods (MF3491, June 2020) · read on October 20, 2026
-
6
Non-iodized salt
“Be sure to use non-iodized salt.”
K-State Research and Extension (Kansas State University) · Taking a New Look at Fermented Foods (MF3491, June 2020) · read on October 20, 2026
-
7
Everything washed in hot soapy water and rinsed well
“Wash all surfaces and containers that will be used with hot sudsy water and rinse well before use.”
K-State Research and Extension (Kansas State University) · Taking a New Look at Fermented Foods (MF3491, June 2020) · read on October 20, 2026
-
8
Chunks packed tightly before the brine goes in
“For brining, large vegetable chunks are packed tightly in a jar, before adding a salt water brine to cover them.”
K-State Research and Extension (Kansas State University) · Taking a New Look at Fermented Foods (MF3491, June 2020) · read on October 20, 2026
Show the remaining 39 claims
-
9
Brine up to the neck of the jar
“Fill to the neck of the jar if using a brine.”
K-State Research and Extension (Kansas State University) · Taking a New Look at Fermented Foods (MF3491, June 2020) · read on October 20, 2026
-
10
As it ferments it bubbles and can overflow
“Fermented vegetables are quite active and bubbly; they can ooze out of the jar if you are not careful.”
K-State Research and Extension (Kansas State University) · Taking a New Look at Fermented Foods (MF3491, June 2020) · read on October 20, 2026
-
11
Lots of air at the top invites mold
“Leaving too much headspace in a jar will allow extra space for oxygen to collect, causing mold or scum to form on the surface.”
K-State Research and Extension (Kansas State University) · Taking a New Look at Fermented Foods (MF3491, June 2020) · read on October 20, 2026
-
12
Anything poking out of the brine can spoil
“Fermenting vegetables may float to the surface and poke up out of the brine where they may spoil.”
K-State Research and Extension (Kansas State University) · Taking a New Look at Fermented Foods (MF3491, June 2020) · read on October 20, 2026
-
13
A weight on top keeps it submerged
“Placing a weight (such as a jar or brine-filled bag) on top to keep them submerged is a good idea.”
K-State Research and Extension (Kansas State University) · Taking a New Look at Fermented Foods (MF3491, June 2020) · read on October 20, 2026
-
14
The lid keeps air out and the airlock lets gas escape
“A lid prevents oxygen from entering the jar. However, it is important to vent the jar with a one-way valve to release the gases that form during fermentation.”
K-State Research and Extension (Kansas State University) · Taking a New Look at Fermented Foods (MF3491, June 2020) · read on October 20, 2026
-
15
At 60–70 °F it's slower but better
“A slower ferment at 60° to 70° F will yield better results than one fermented at higher temps.”
K-State Research and Extension (Kansas State University) · Taking a New Look at Fermented Foods (MF3491, June 2020) · read on October 20, 2026
-
16
In summer, check it often
“when fermenting in the summer, plan to check your ferments often for doneness.”
K-State Research and Extension (Kansas State University) · Taking a New Look at Fermented Foods (MF3491, June 2020) · read on October 20, 2026
-
17
It usually takes several weeks
“it generally will take several weeks.”
K-State Research and Extension (Kansas State University) · Taking a New Look at Fermented Foods (MF3491, June 2020) · read on October 20, 2026
-
18
In the fridge it keeps crisp for months
“Storing fermented vegetables in the refrigerator will keep them fresh and crisp for many months.”
K-State Research and Extension (Kansas State University) · Taking a New Look at Fermented Foods (MF3491, June 2020) · read on October 20, 2026
-
19
Left out, it keeps fermenting until it's no longer fit to eat
“if left out at room temperature they will continue fermenting, becoming very sour and ripening beyond palatability and safety.”
K-State Research and Extension (Kansas State University) · Taking a New Look at Fermented Foods (MF3491, June 2020) · read on October 20, 2026
-
20
Without an airlock, loosen the lid now and then
“If a one-way valve is not used, the gases will need to be released manually by loosening the lid occasionally.”
K-State Research and Extension (Kansas State University) · Taking a New Look at Fermented Foods (MF3491, June 2020) · read on October 20, 2026
-
21
For large vegetables such as cucumbers and carrots, a 5% brine
“Generally 5% salt concentrations are used for large vegetables (cucumbers and carrots)”
University of Illinois Extension · Fermentation handout (2020) · read on October 20, 2026
-
22
Salt is best weighed
“It is best to weigh salt for accuracy.”
University of Illinois Extension · Fermentation handout (2020) · read on October 20, 2026
-
23
Salt without additives, such as canning salt
“The salt used in fermentation should contain no additives. Canning or pickling salt is recommended”
University of Illinois Extension · Fermentation handout (2020) · read on October 20, 2026
-
24
Filtered or spring water is best
“Filtered water or spring water are preferred.”
University of Illinois Extension · Fermentation handout (2020) · read on October 20, 2026
-
25
Tap water usually has chlorine
“Tap water usually contains chlorine, chloramines and fluoride that must be removed before culturing.”
University of Illinois Extension · Fermentation handout (2020) · read on October 20, 2026
-
26
Never distilled water
“Do not use distilled water.”
University of Illinois Extension · Fermentation handout (2020) · read on October 20, 2026
-
27
The freshest vegetables you can get
“Use the freshest produce possible”
University of Illinois Extension · Fermentation handout (2020) · read on October 20, 2026
-
28
1 to 2 inches below the brine
“Your fermenting product should be kept 1-2 inches below the brine.”
University of Illinois Extension · Fermentation handout (2020) · read on October 20, 2026
-
29
Ideally 68–72 °F
“Control room temperature– ideal=68-72°F”
University of Illinois Extension · Fermentation handout (2020) · read on October 20, 2026
-
30
Less time, less sour; more time, more sour
“Generally, if you want a less sour product, use a shorter fermentation time; longer for more tang.”
University of Illinois Extension · Fermentation handout (2020) · read on October 20, 2026
-
31
Bubbles are gas from the lactic acid bacteria
“This is because Lactic acid bacteria produce gases and this shows up in the form of bubbles.”
University of Illinois Extension · Fermentation handout (2020) · read on October 20, 2026
-
32
If it's slimy or smells rotten, throw it out
“If fermented product is slimy, smells spoiled/rotten, discard it.”
University of Illinois Extension · Fermentation handout (2020) · read on October 20, 2026
-
33
Mold needs air
“Molds require oxygen to grow.”
UC Davis, Department of Food Science and Technology · Common issues with fermented fruits and vegetables (v1.0, 15-mar-2022) · read on October 20, 2026
-
34
If there's mold, the whole batch goes
“If you confirm mold growth on any part of a ferment, it should be immediately discarded.”
UC Davis, Department of Food Science and Technology · Common issues with fermented fruits and vegetables (v1.0, 15-mar-2022) · read on October 20, 2026
-
35
Mold is usually green, blue, brown or black
“Mold is typically green, blue, brown, or black in color.”
UC Davis, Department of Food Science and Technology · Common issues with fermented fruits and vegetables (v1.0, 15-mar-2022) · read on October 20, 2026
-
36
A white, gray or pink film may form
“White, grey, or pink films may form on the surface of fermenting fruits or vegetables.”
UC Davis, Department of Food Science and Technology · Common issues with fermented fruits and vegetables (v1.0, 15-mar-2022) · read on October 20, 2026
-
37
That film is usually kahm yeast
“This film is typically yeast, often referred to by home fermenters as Kahm yeast.”
UC Davis, Department of Food Science and Technology · Common issues with fermented fruits and vegetables (v1.0, 15-mar-2022) · read on October 20, 2026
-
38
Too much yeast lowers the acidity
“Excessive yeast growth can lead to off flavors or textures and reduce acidity.”
UC Davis, Department of Food Science and Technology · Common issues with fermented fruits and vegetables (v1.0, 15-mar-2022) · read on October 20, 2026
-
39
A putrid smell means a failed ferment
“A putrid smell indicates a failed fermentation.”
UC Davis, Department of Food Science and Technology · Common issues with fermented fruits and vegetables (v1.0, 15-mar-2022) · read on October 20, 2026
-
40
It smells pleasantly sour, not putrid
“A fermented fruit or vegetable will smell pleasantly sour but not putrid.”
UC Davis, Department of Food Science and Technology · Common issues with fermented fruits and vegetables (v1.0, 15-mar-2022) · read on October 20, 2026
-
41
The pH must not rise above 4.6
“The pH can be checked periodically to ensure it does not rise above 4.6.”
UC Davis, Department of Food Science and Technology · Common issues with fermented fruits and vegetables (v1.0, 15-mar-2022) · read on October 20, 2026
-
42
Mold can't be scooped off
“The mold cannot be scooped out, as the roots will still be in your food and could make you sick.”
Ask Extension (Clackamas County Extension, Oregon State University) · Pickle/olive brine surface mold spots #889210 · read on October 20, 2026
-
43
Skim kahm off daily
“we recommend skimming the yeast off daily”
Ask Extension (Clackamas County Extension, Oregon State University) · Pickle/olive brine surface mold spots #889210 · read on October 20, 2026
-
44
Open the lid only briefly
“The lid should only be opened briefly to limit oxygen from entering the container.”
University of Minnesota Extension · Preserving food at home: Fermentation (reviewed 2026) · read on October 25, 2026
-
45
The bag holds brine: if it leaks, the salt is not diluted
“It is recommended that the brine solution be stored in plastic bags to ensure that the fermentation brine is not diluted should the bag leak or break.”
Virginia Cooperative Extension (Virginia Tech) · Vegetable fermentation (FST-328, reviewed 2025) · read on October 26, 2026
-
46
The bag, well sealed
“Be sure to seal the plastic bag.”
National Center for Home Food Preservation (USDA, University of Georgia) · Suitable Containers, Covers, and Weights for Fermenting Food · read on October 26, 2026
-
47
Once cut, vegetables should start fermenting as soon as possible, within 24 hours
“Once the vegetables are prepared the fermentation process should be initiated as soon as possible, and within a maximum of 24 hours.”
BC Centre for Disease Control, Environmental Health Services · Safety of Fermented Foods, Section 3.1: Fermented Vegetables (August 2024, updated December 2024) · read on October 25, 2026